2026-02-21
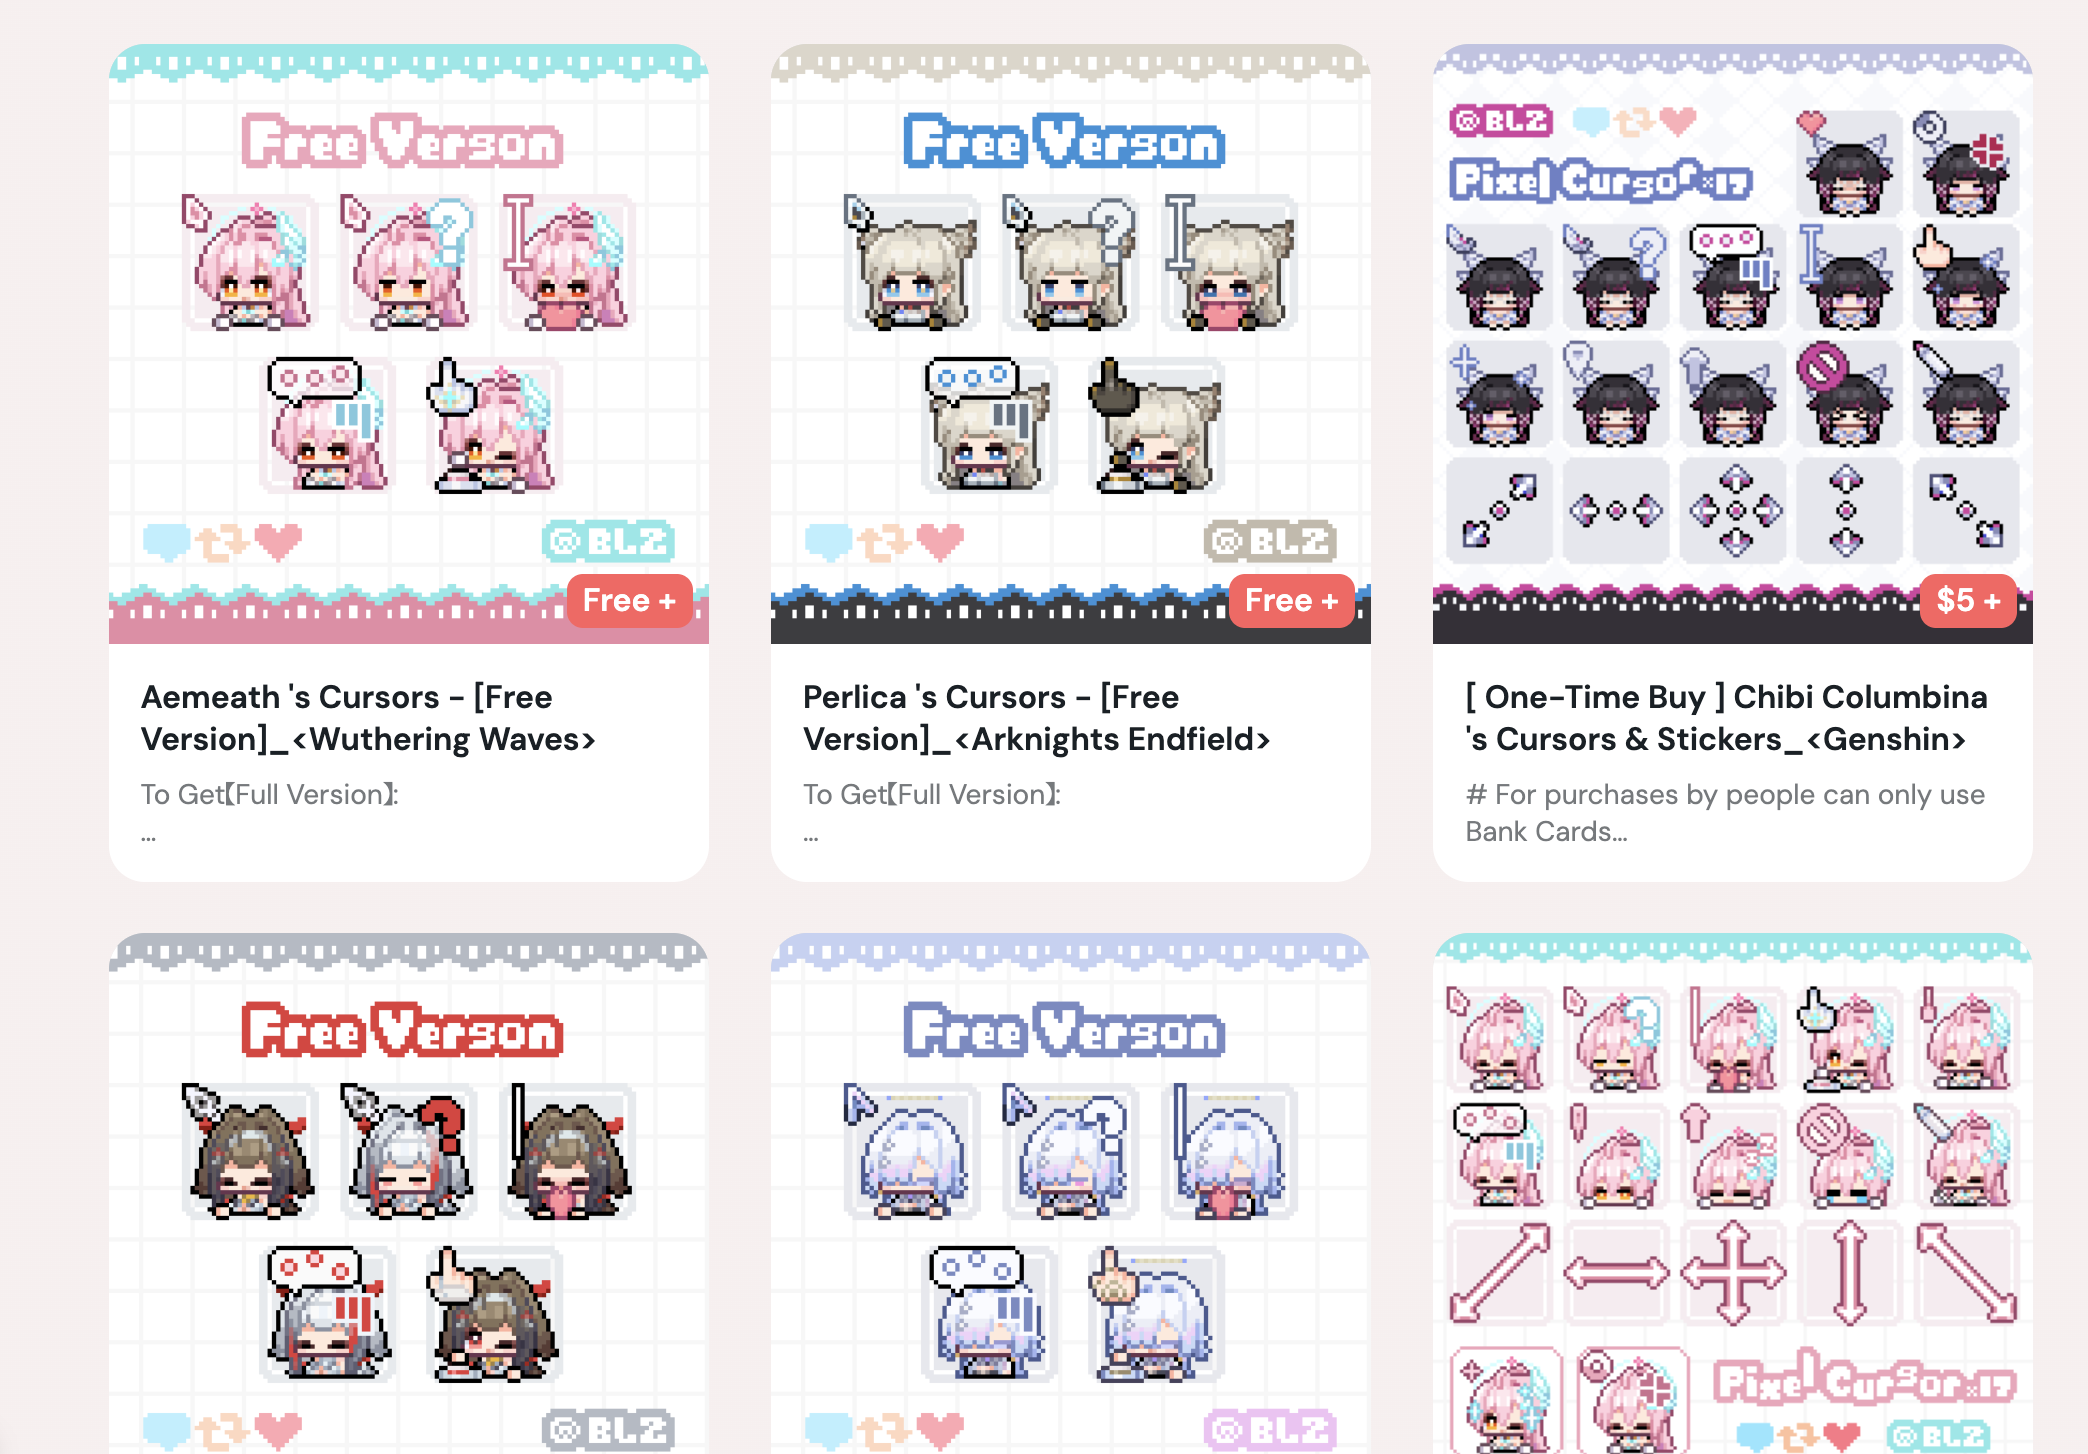
Table of Contents
- 시작
- 개인 블로그에 적용하기
- Mac OS에서 적용하기
시작
처음에 React Bits에 블로그에 적용할만한 컴포넌트 없나 찾아보다가 animated cursor를 발견했다.
이거 그대로 적용하기엔 좀 아쉬워서 다른 이쁜 커서 없나 찾아보다가 아래 두개 페이지 발견.
- ebiebibeam님의 커서 판매 페이지 - 프리렌 커서 뒤져보다가 발견한
- BLZ님의 커서 판매 페이지 - 누나 소개로 발견
1번도 이뻤는데, 2번이 좀 더 움직임 프레임이 많아 2번으로 결정.
개인 블로그에 적용하기
맨처음에는 ebiebibeam님의 프리렌으로 했다가 _BLZ_님의 펠리카 커서가 더 움직임이 많아 펠리카 커서로 변경.
브라우저 커서 적용은 Claude Code한테 해줘~ 하면 잘 해줬다.
다만 Astro의 경우에 일반 spa 쓰듯이 대충 구현하면 hydration 이슈로 라우트 이동할 때 상당히 느려지는 이슈가 있으므로
이 부분은 유의해서 Claude Code한테 요청해야한다.
아래가 브라우저에서 적용된 모습
적용 코드는 다음과 같다.
---/** * Global Pelica pixel-art cursor. * Pure vanilla JS — zero framework, zero hydration. * Persists across View Transitions via transition:persist. * * States: normal | link | text | loading */---
<div id="pelica-cursor" transition:persist="pelica-cursor"> <div class="pelica-sprite" data-cursor="normal"></div> <div class="pelica-sprite" data-cursor="link"></div> <div class="pelica-sprite" data-cursor="text"></div> <div class="pelica-sprite" data-cursor="loading"></div></div>
<style> #pelica-cursor { pointer-events: none; position: fixed; z-index: 9999; opacity: 0; transition: opacity 0.15s ease-out; } #pelica-cursor.active { opacity: 1; } .pelica-sprite { width: 32px; height: 32px; image-rendering: pixelated; background-size: calc(32px * 12) 32px; animation: pelica-anim 3s steps(12) infinite; display: none; } [data-cursor="normal"] { background-image: url('/cursors/pelica-normal.png'); } [data-cursor="link"] { background-image: url('/cursors/pelica-link.png'); } [data-cursor="text"] { background-image: url('/cursors/pelica-text.png'); } [data-cursor="loading"] { background-image: url('/cursors/pelica-loading.png'); }
@keyframes pelica-anim { from { background-position: 0 0; } to { background-position: -768px 0; } }</style>
<style is:global> @media (pointer: fine) { *, *::before, *::after { cursor: none !important; } }</style>
<script>import { isMobileUA } from '@/utils/device';
if (!isMobileUA()) { let el = document.getElementById('pelica-cursor')!; let sprites = Object.fromEntries( Array.from(el.querySelectorAll<HTMLElement>('.pelica-sprite')).map( (s) => [s.dataset.cursor!, s], ), );
const LINK_SEL = 'a, button, [role="button"], [tabindex]'; const TEXT_SEL = 'input[type="text"], input[type="search"], input[type="email"], input[type="url"], input[type="password"], input[type="number"], textarea, [contenteditable="true"]';
let currentState = 'normal'; let isLoading = false;
function show(state: string) { if (state === currentState) return; sprites[currentState].style.display = 'none'; currentState = state; sprites[currentState].style.display = 'block'; }
sprites.normal.style.display = 'block';
function detectState(target: Element): string { if (isLoading) return 'loading'; if (target.closest(TEXT_SEL)) return 'text'; if (target.closest(LINK_SEL)) return 'link'; return 'normal'; }
document.addEventListener('astro:after-swap', () => { const next = document.getElementById('pelica-cursor'); if (next && next !== el) { el = next; sprites = Object.fromEntries( Array.from(el.querySelectorAll<HTMLElement>('.pelica-sprite')).map( (s) => [s.dataset.cursor!, s], ), ); sprites[currentState].style.display = 'block'; } });
document.addEventListener('astro:before-preparation', () => { isLoading = true; show('loading'); }); document.addEventListener('astro:after-swap', () => { isLoading = false; });
document.addEventListener('mousemove', (e: MouseEvent) => { el.style.left = `${e.clientX}px`; el.style.top = `${e.clientY}px`; el.classList.add('active'); show(detectState(e.target as Element)); });
document.addEventListener('mouseleave', () => { el.classList.remove('active'); });
document.addEventListener('mouseenter', (e: MouseEvent) => { el.style.left = `${e.clientX}px`; el.style.top = `${e.clientY}px`;
el.classList.add('active'); });}</script>Mac OS에서 적용하기
블로그에 적용 후에 OS에도 적용하고 싶어졌다.
위 페이지에서 커서 파일 다운로드하면 설명서가 있는데, 윈도우 용이고 Mac os 용은 youtube 영상 링크로 확인해야했다.
귀찮아서 claude cowork에 해줘~ 하니까 구 버전 mousecape를 적용하라고 알려줘서 제대로 동작하지 않았다.
어쩔 수 없지하고 직접 검색해서 찾은 Mac os 26 tahoe 대응 버전 mousecape를 찾아 설치했다.
cursor 파일은 windows용 .ani 파일이라 mac에서 사용하려면 mousecape에서 사용되는 .cape 파일로 변환해야한다.
이건 Claude에 맞기니 잘해줘서 적용 완료
적용 모습은 다음 이미지와 같다.