> cd ..

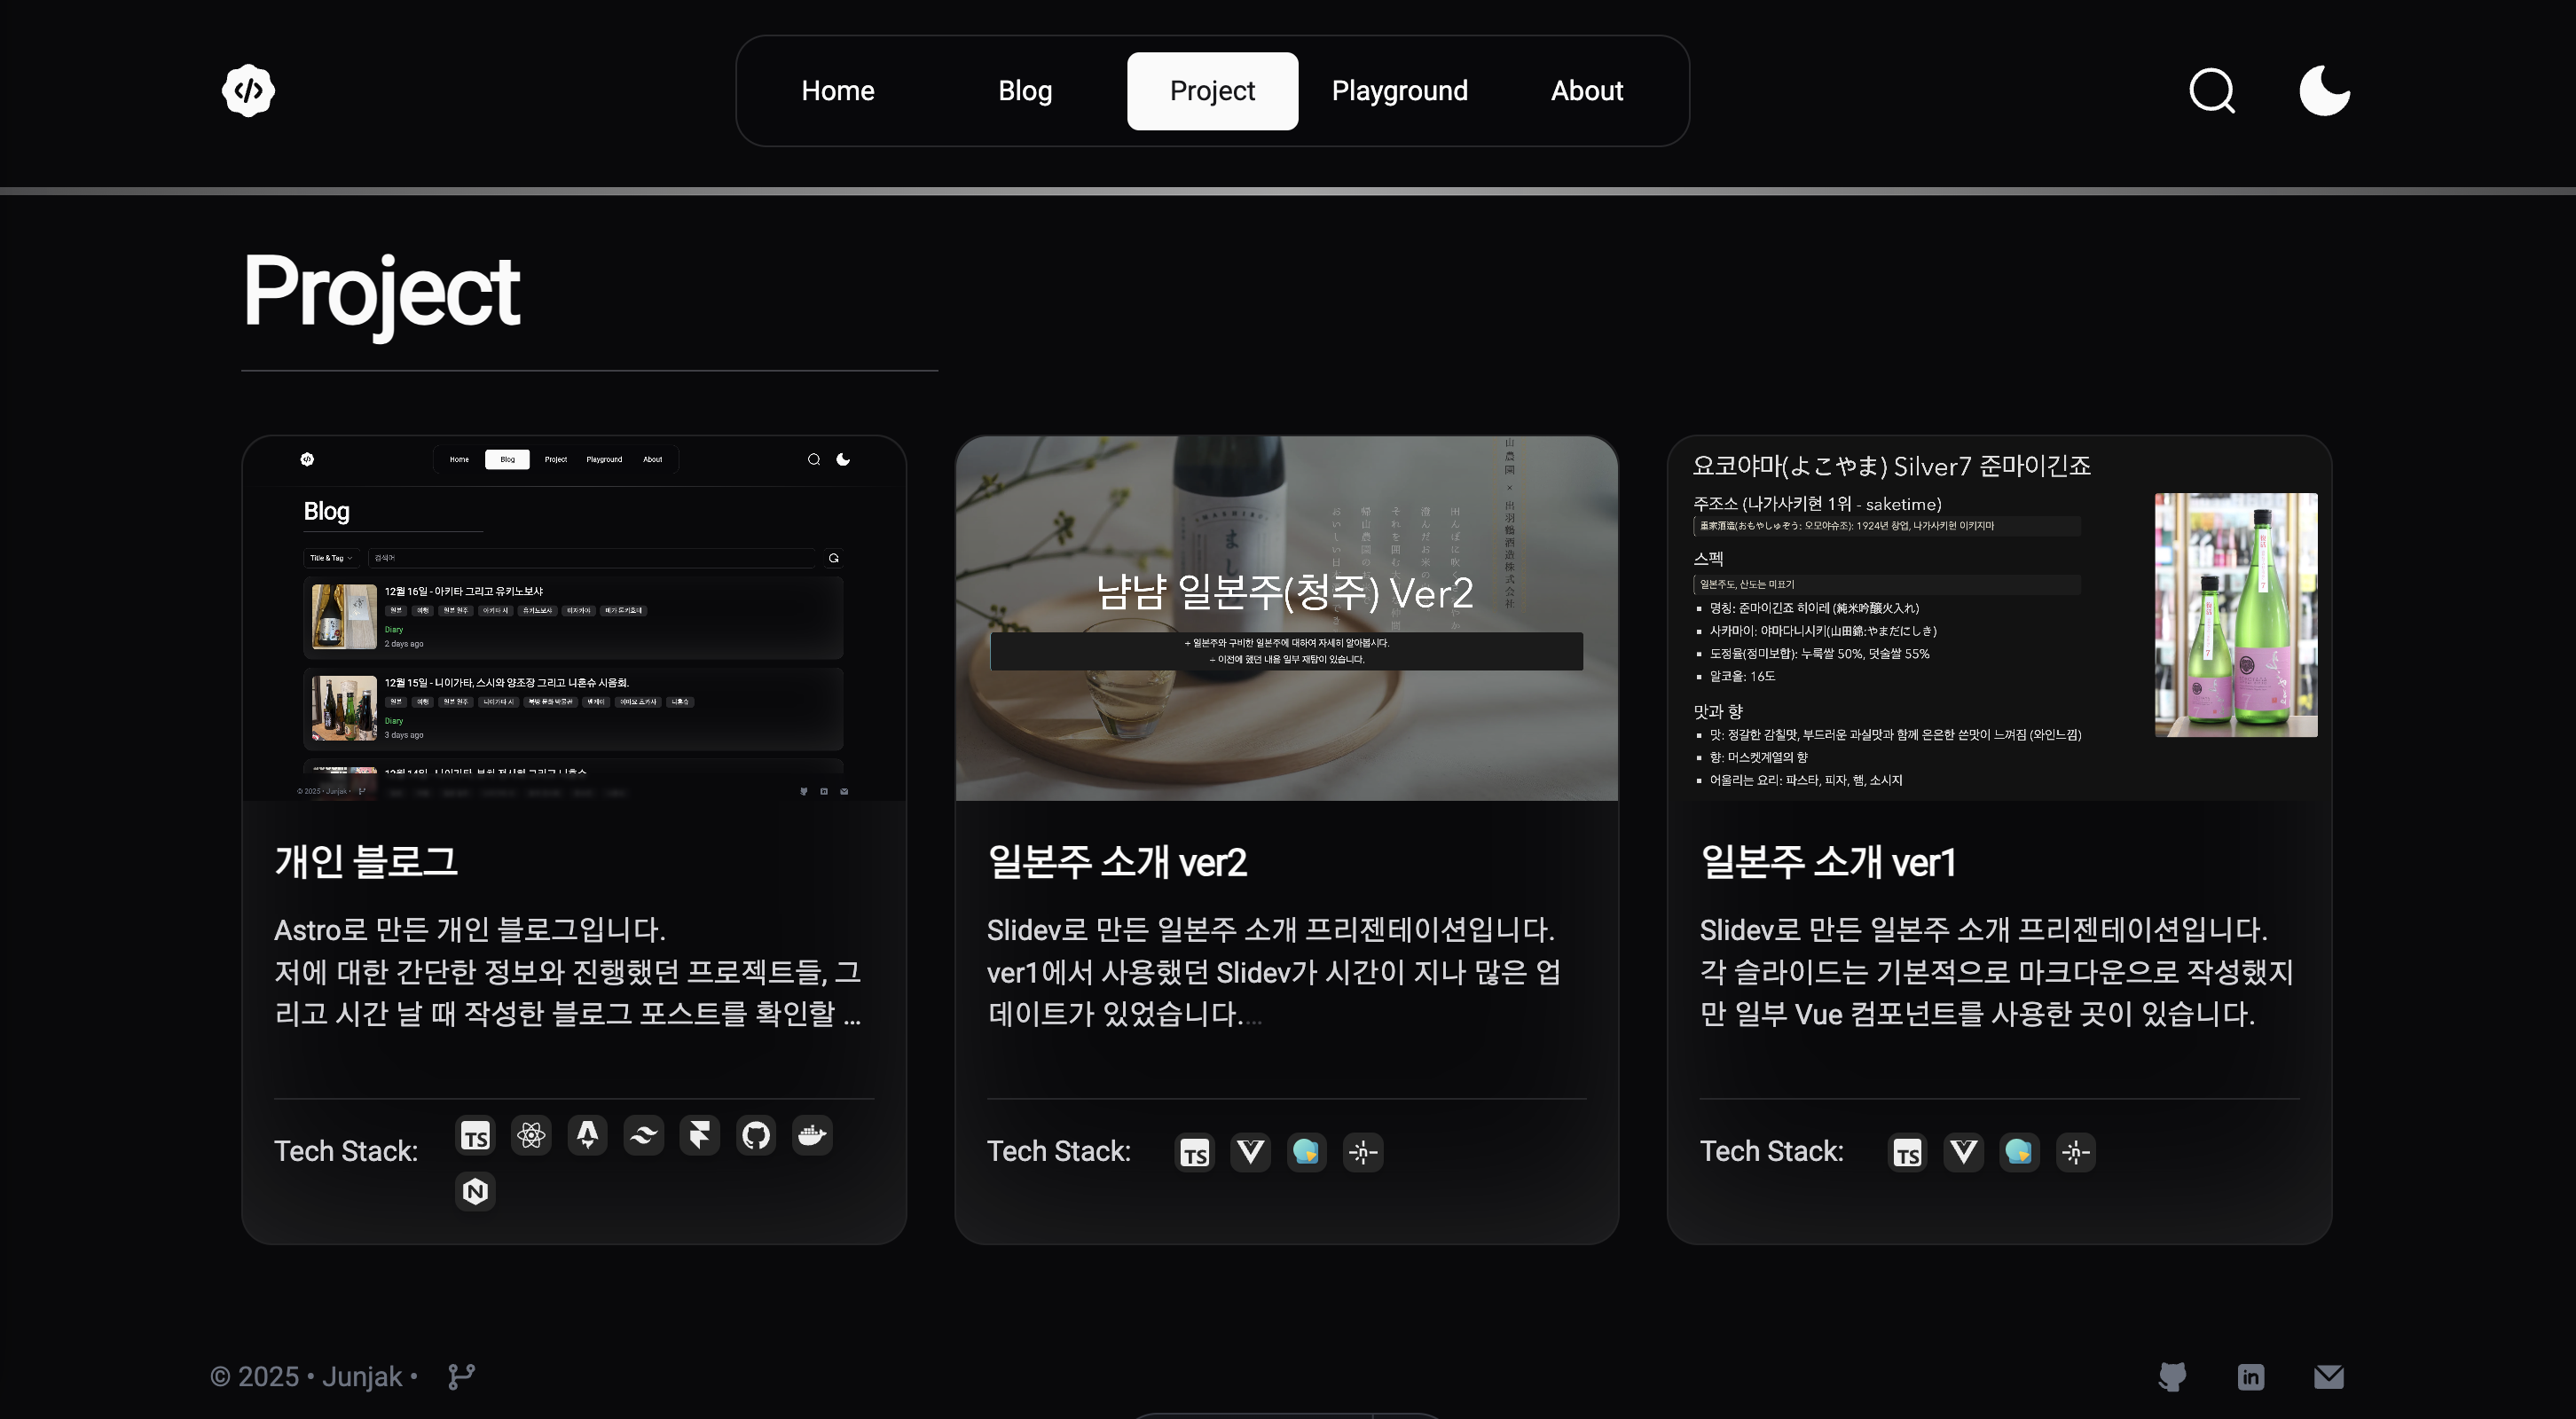
개인 블로그
2025-02-10 ~ current
설명
Astro로 만든 개인 블로그입니다.
저에 대한 간단한 정보와 진행했던 프로젝트들, 그리고 시간 날 때 작성한 블로그 포스트를 확인할 수 있습니다.
Blog, Project, Playground 항목들은 Astro의 Content Api를 활용하여 구현하였으며, 각 게시물은 .mdx 파일로 작성하여 내부에 컴포넌트를 사용할 수 있습니다.
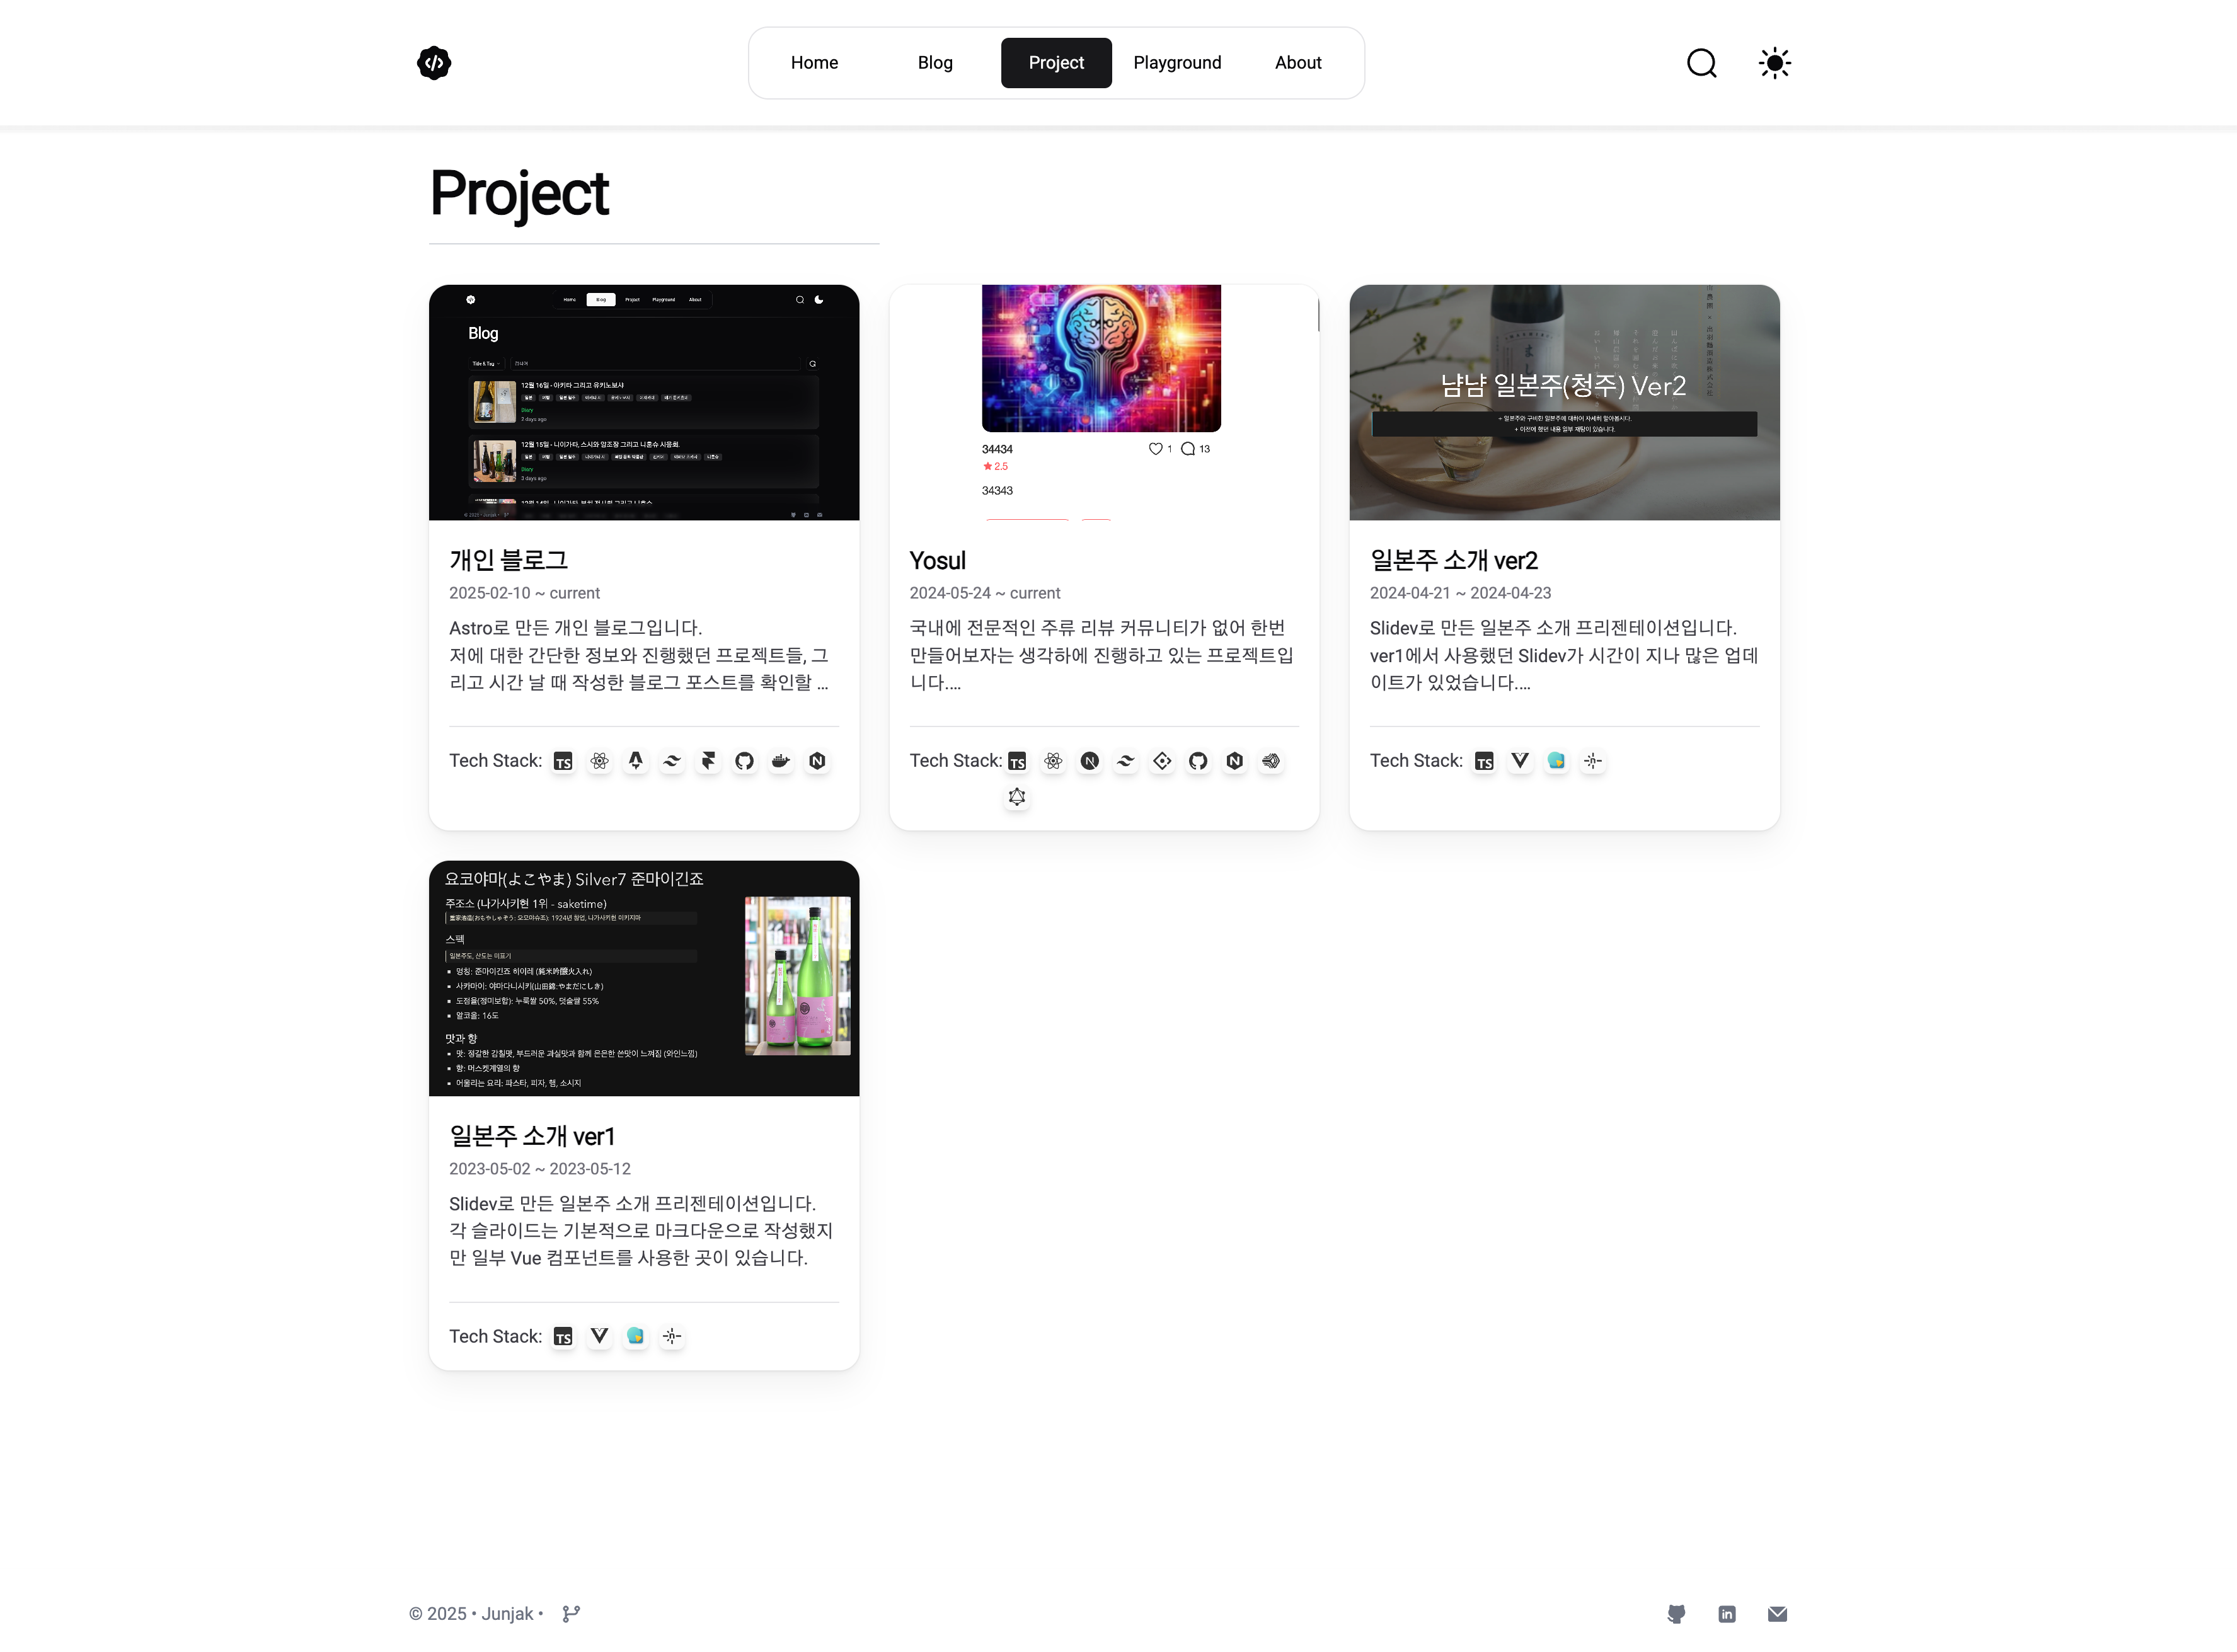
프로젝트 화면
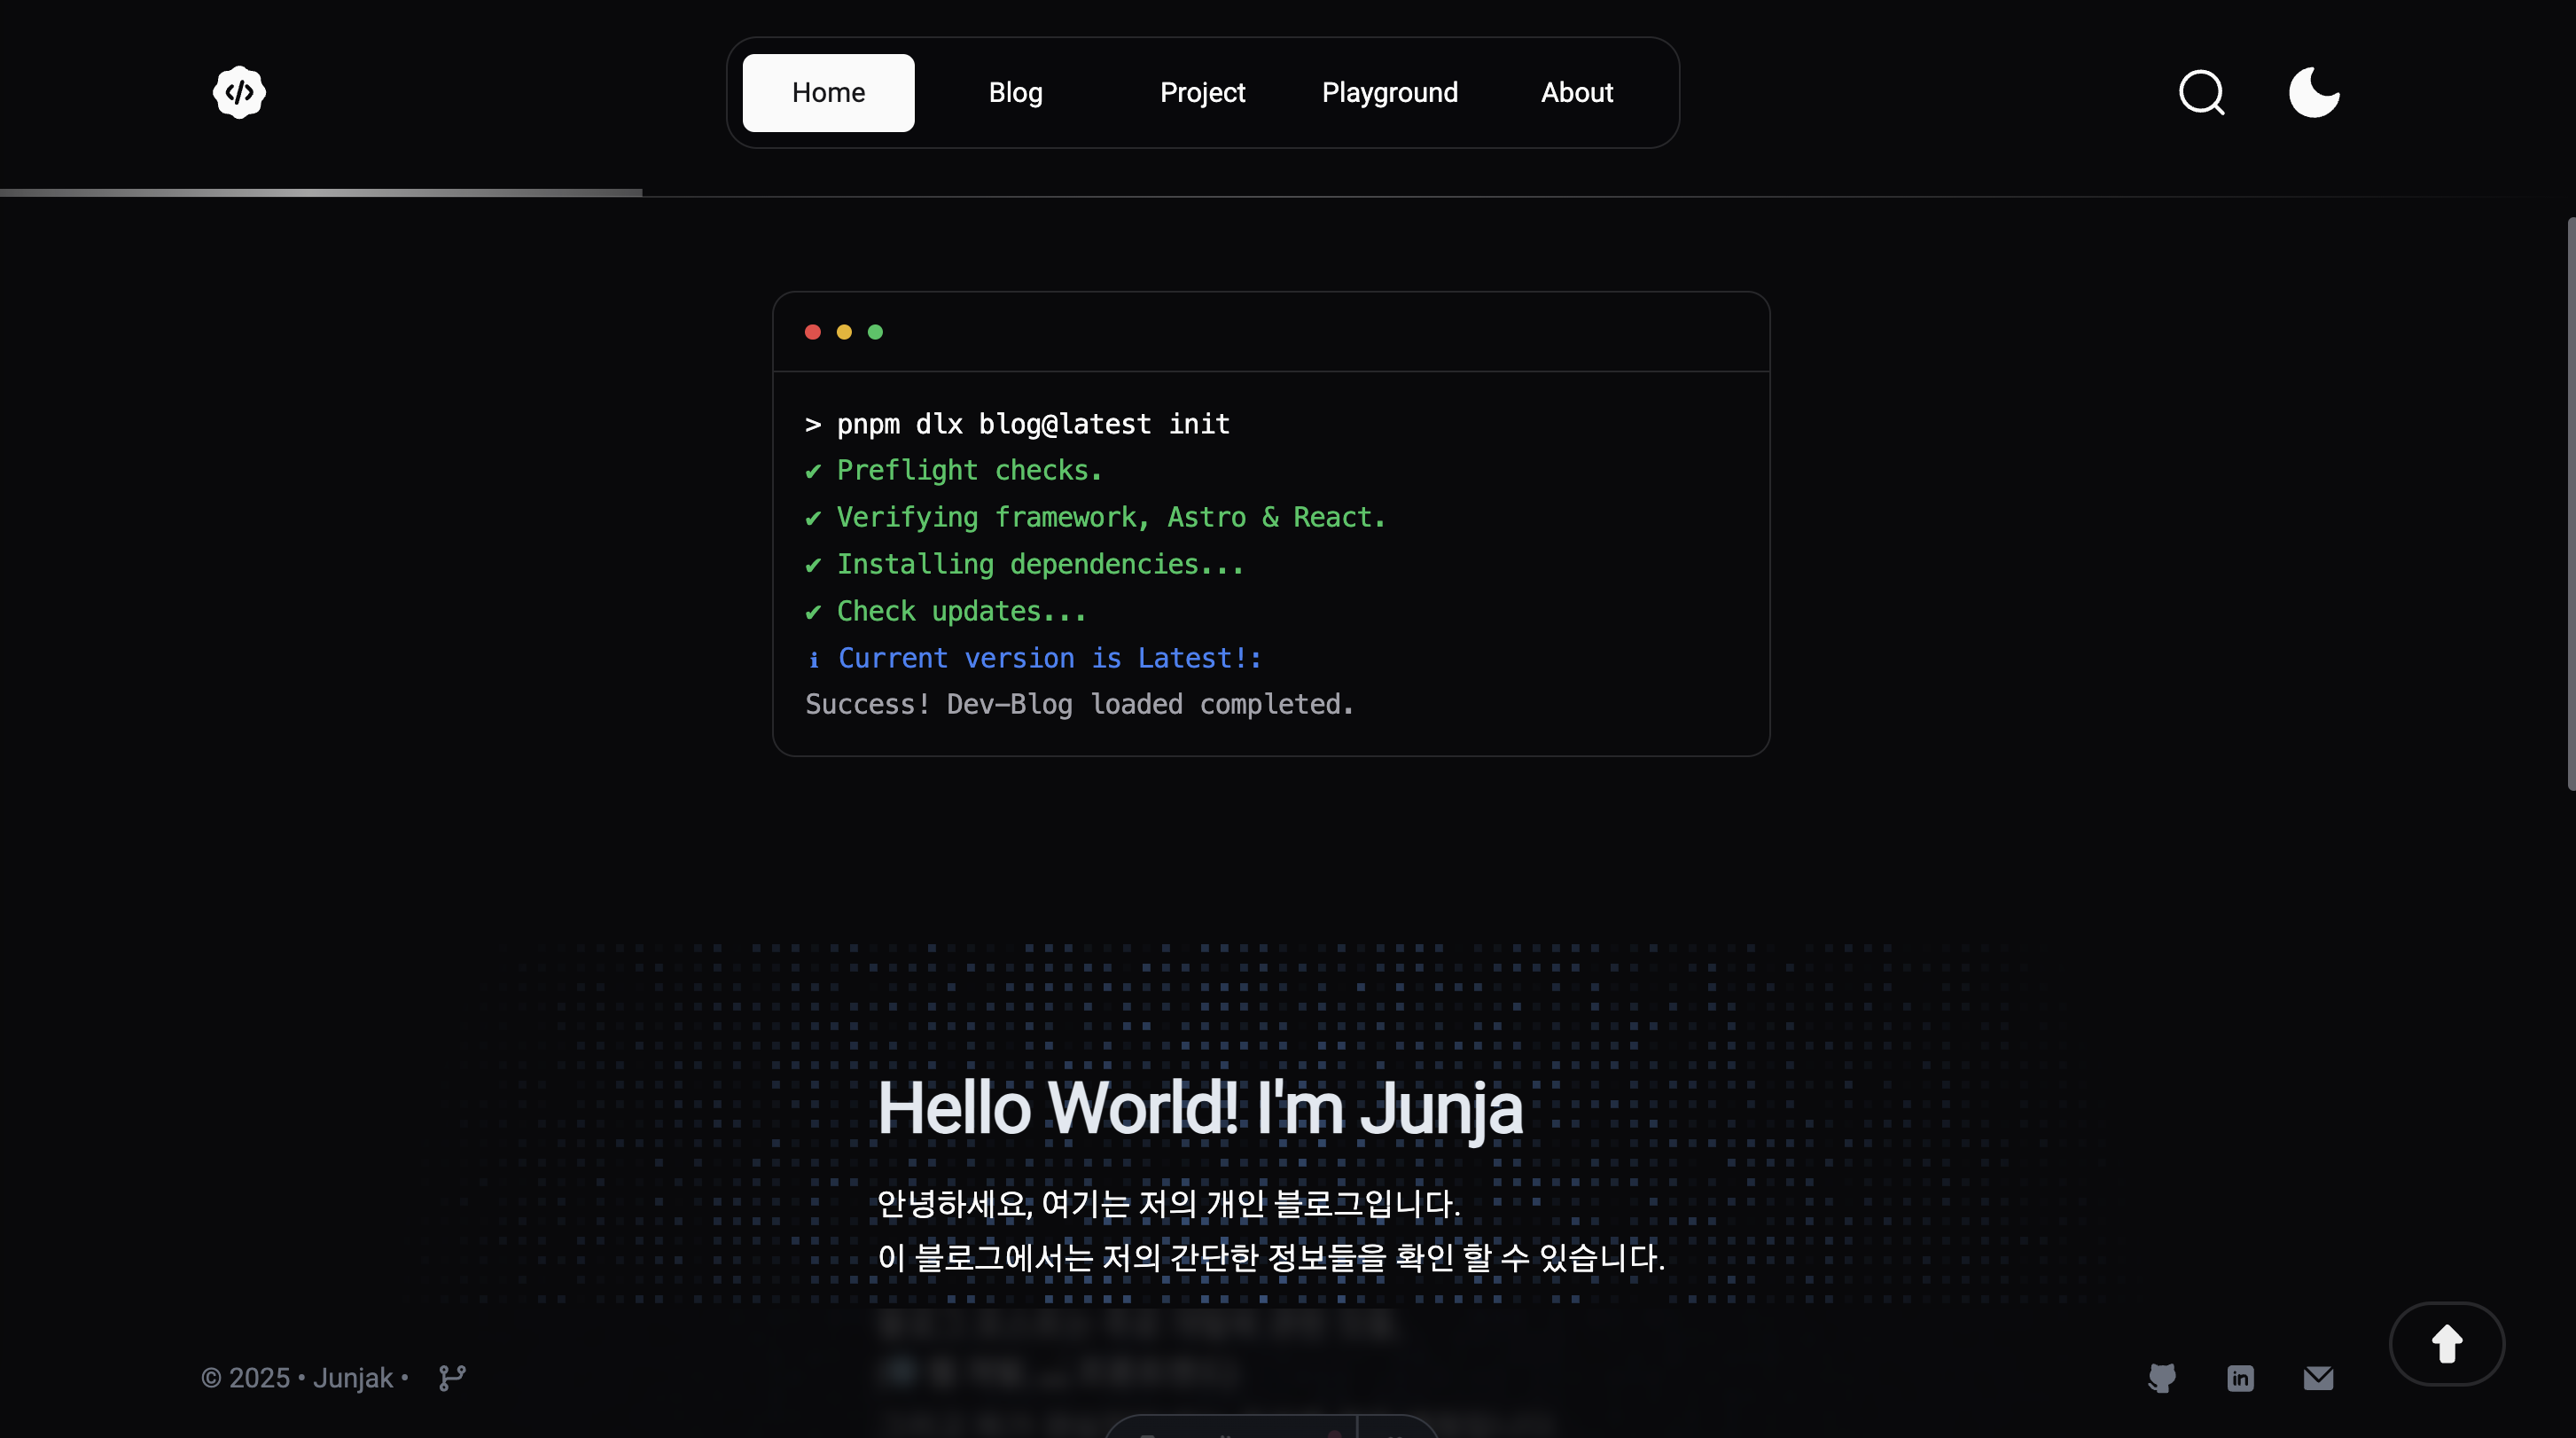


사이트 링크
기술 스택
- Astro: SSG 프레임워크
- React: 주요 컴포넌트 제작
- TailwindCSS: 스타일링
- Framer Motion: 애니메이션
- Github Actions: 자동 배포
- Docker: 컨테이너 이미지 빌드
- Nginx: 웹 서버
- Cloudflare: 도메인 관리
개발 과정
기술 선정
- Astro
- state of js 2024에서 흥미, 주목도, 긍정 평가에서 3관왕을 차지할 정도로 메타 프레임워크로 각광받음
- 이에 Astro를 사용하여 개인 블로그를 만들어보고 싶어 이 프로젝트를 진행
- 아스트로에 대한 자세한 평가는 블로그 게시물 참고.
Astro 프레임워크 평가
- React
- 많은 사람들에게 여전히 압도적 지지를 받고 있는 React에 대해 더 익숙해지고 싶었음
- 최근 인기가 상당한 React기반 CSS Library인 Shadcn UI 사용해보고 싶음
UI 구성
- 애니메이션과 동적인 효과를 주고 싶어 Motion와 TailwindCSS를 적절히 활용하여 애니메이션을 구현
 |  |
- 사용자 경험을 위해 반응형 UI와 Dark/Light 모드를 개발
| PC 화면 | Mobile 화면 |
|---|---|
 |  |
| Dark 모드 | Light 모드 |
|---|---|
 |  |
블로그 페이지 개발
-
Astro의 Content API 활용
- 블로그 게시물은 마크다운을 통해 작성하고 싶어 Astro의 Content API 기능을 활용
/*** 파일 경로: ./src/content/config.ts* 역할 설명: mdx의 frontmatter에 적혀있는 속성을 스키마로 가지는 콜렉션 지정*/import { defineCollection, z } from 'astro:content';const blog = defineCollection({type: 'content',schema: z.object({title: z.string(),category: z.string(),thumbnail: z.string().optional(),created: z.coerce.date(),tags: z.array(z.string()).optional(),updated: z.coerce.date().optional(),}),});export const collections = { blog };/*** 파일 경로: ./pages/blog/[...slug].astro* 역할 설명: post slug 경로와 일치하는 mdx를 렌더링하는 동적 페이지 생성*/---import { type CollectionEntry, getCollection } from 'astro:content';export async function getStaticPaths() {const posts = await getCollection('blog');return posts.map((post, index) => ({params: { slug: post.slug },props: {post,prev: posts[index - 1] || null,next: posts[index + 1] || null,},}));}const { post, prev, next } = Astro.props;const { Content } = await post.render();---<MdLayout post={post.data} nav={{ prev, next }} url={`/blog/${post.slug}`}><Content /></MdLayout> -
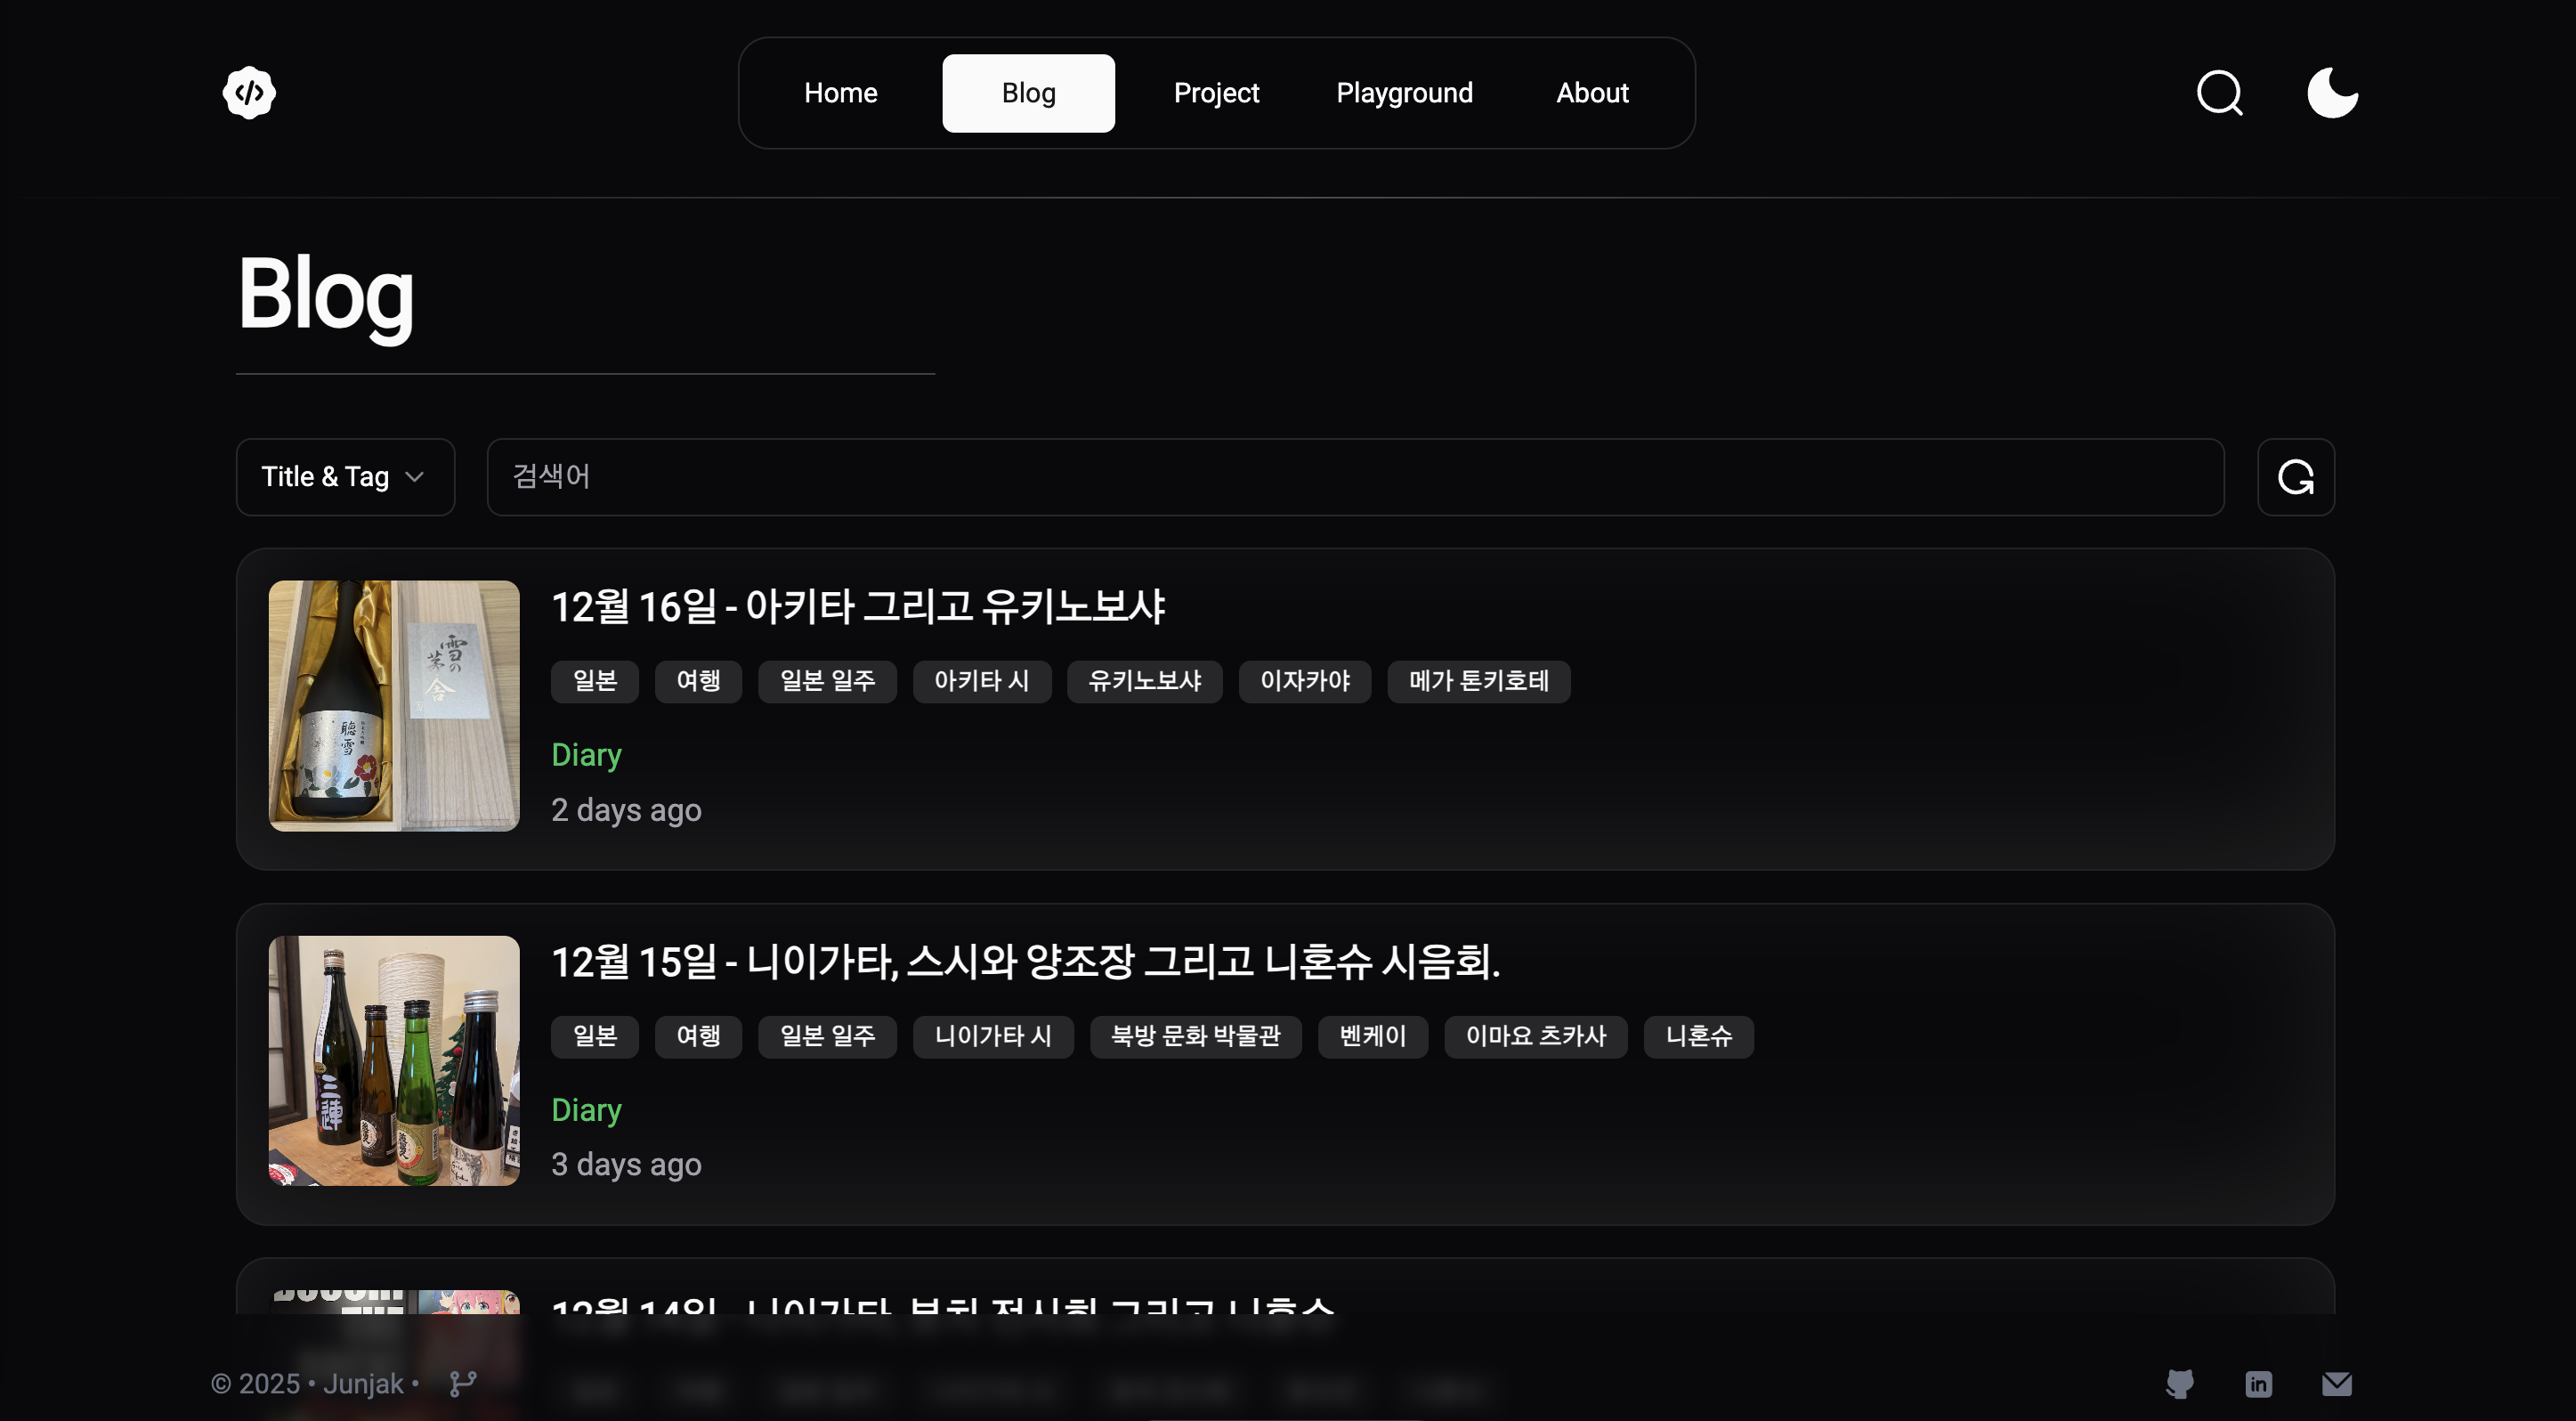
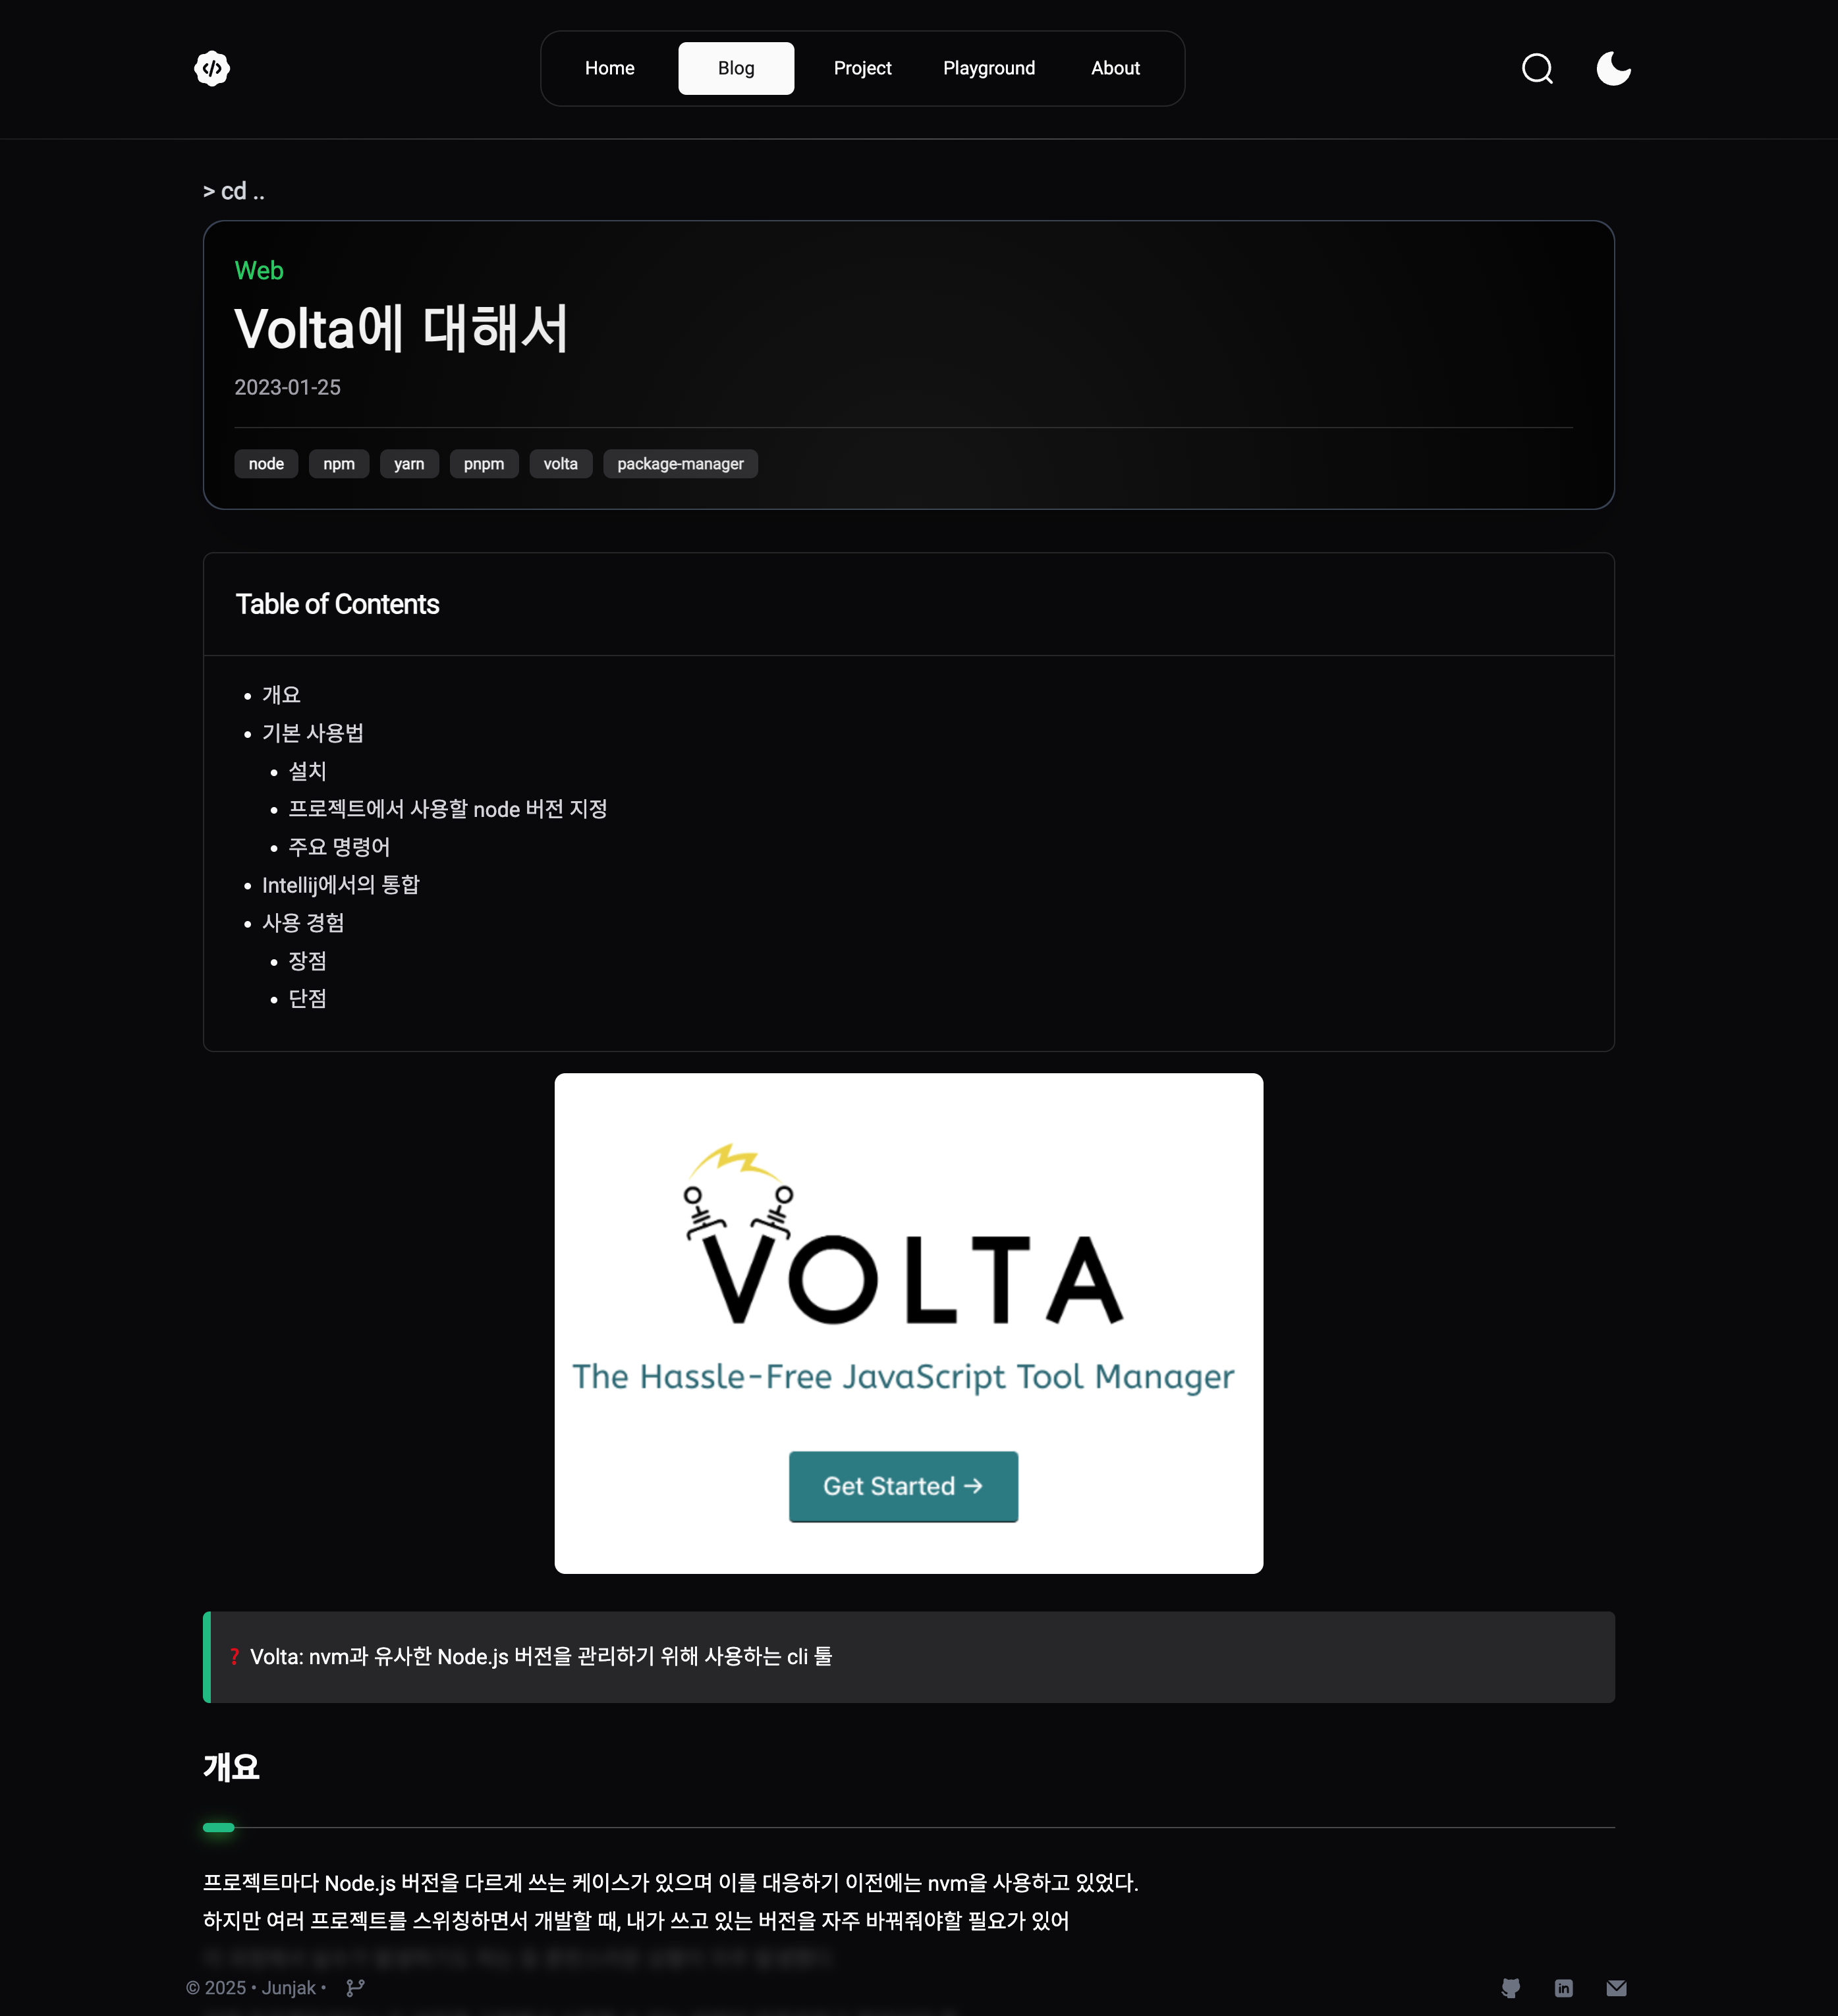
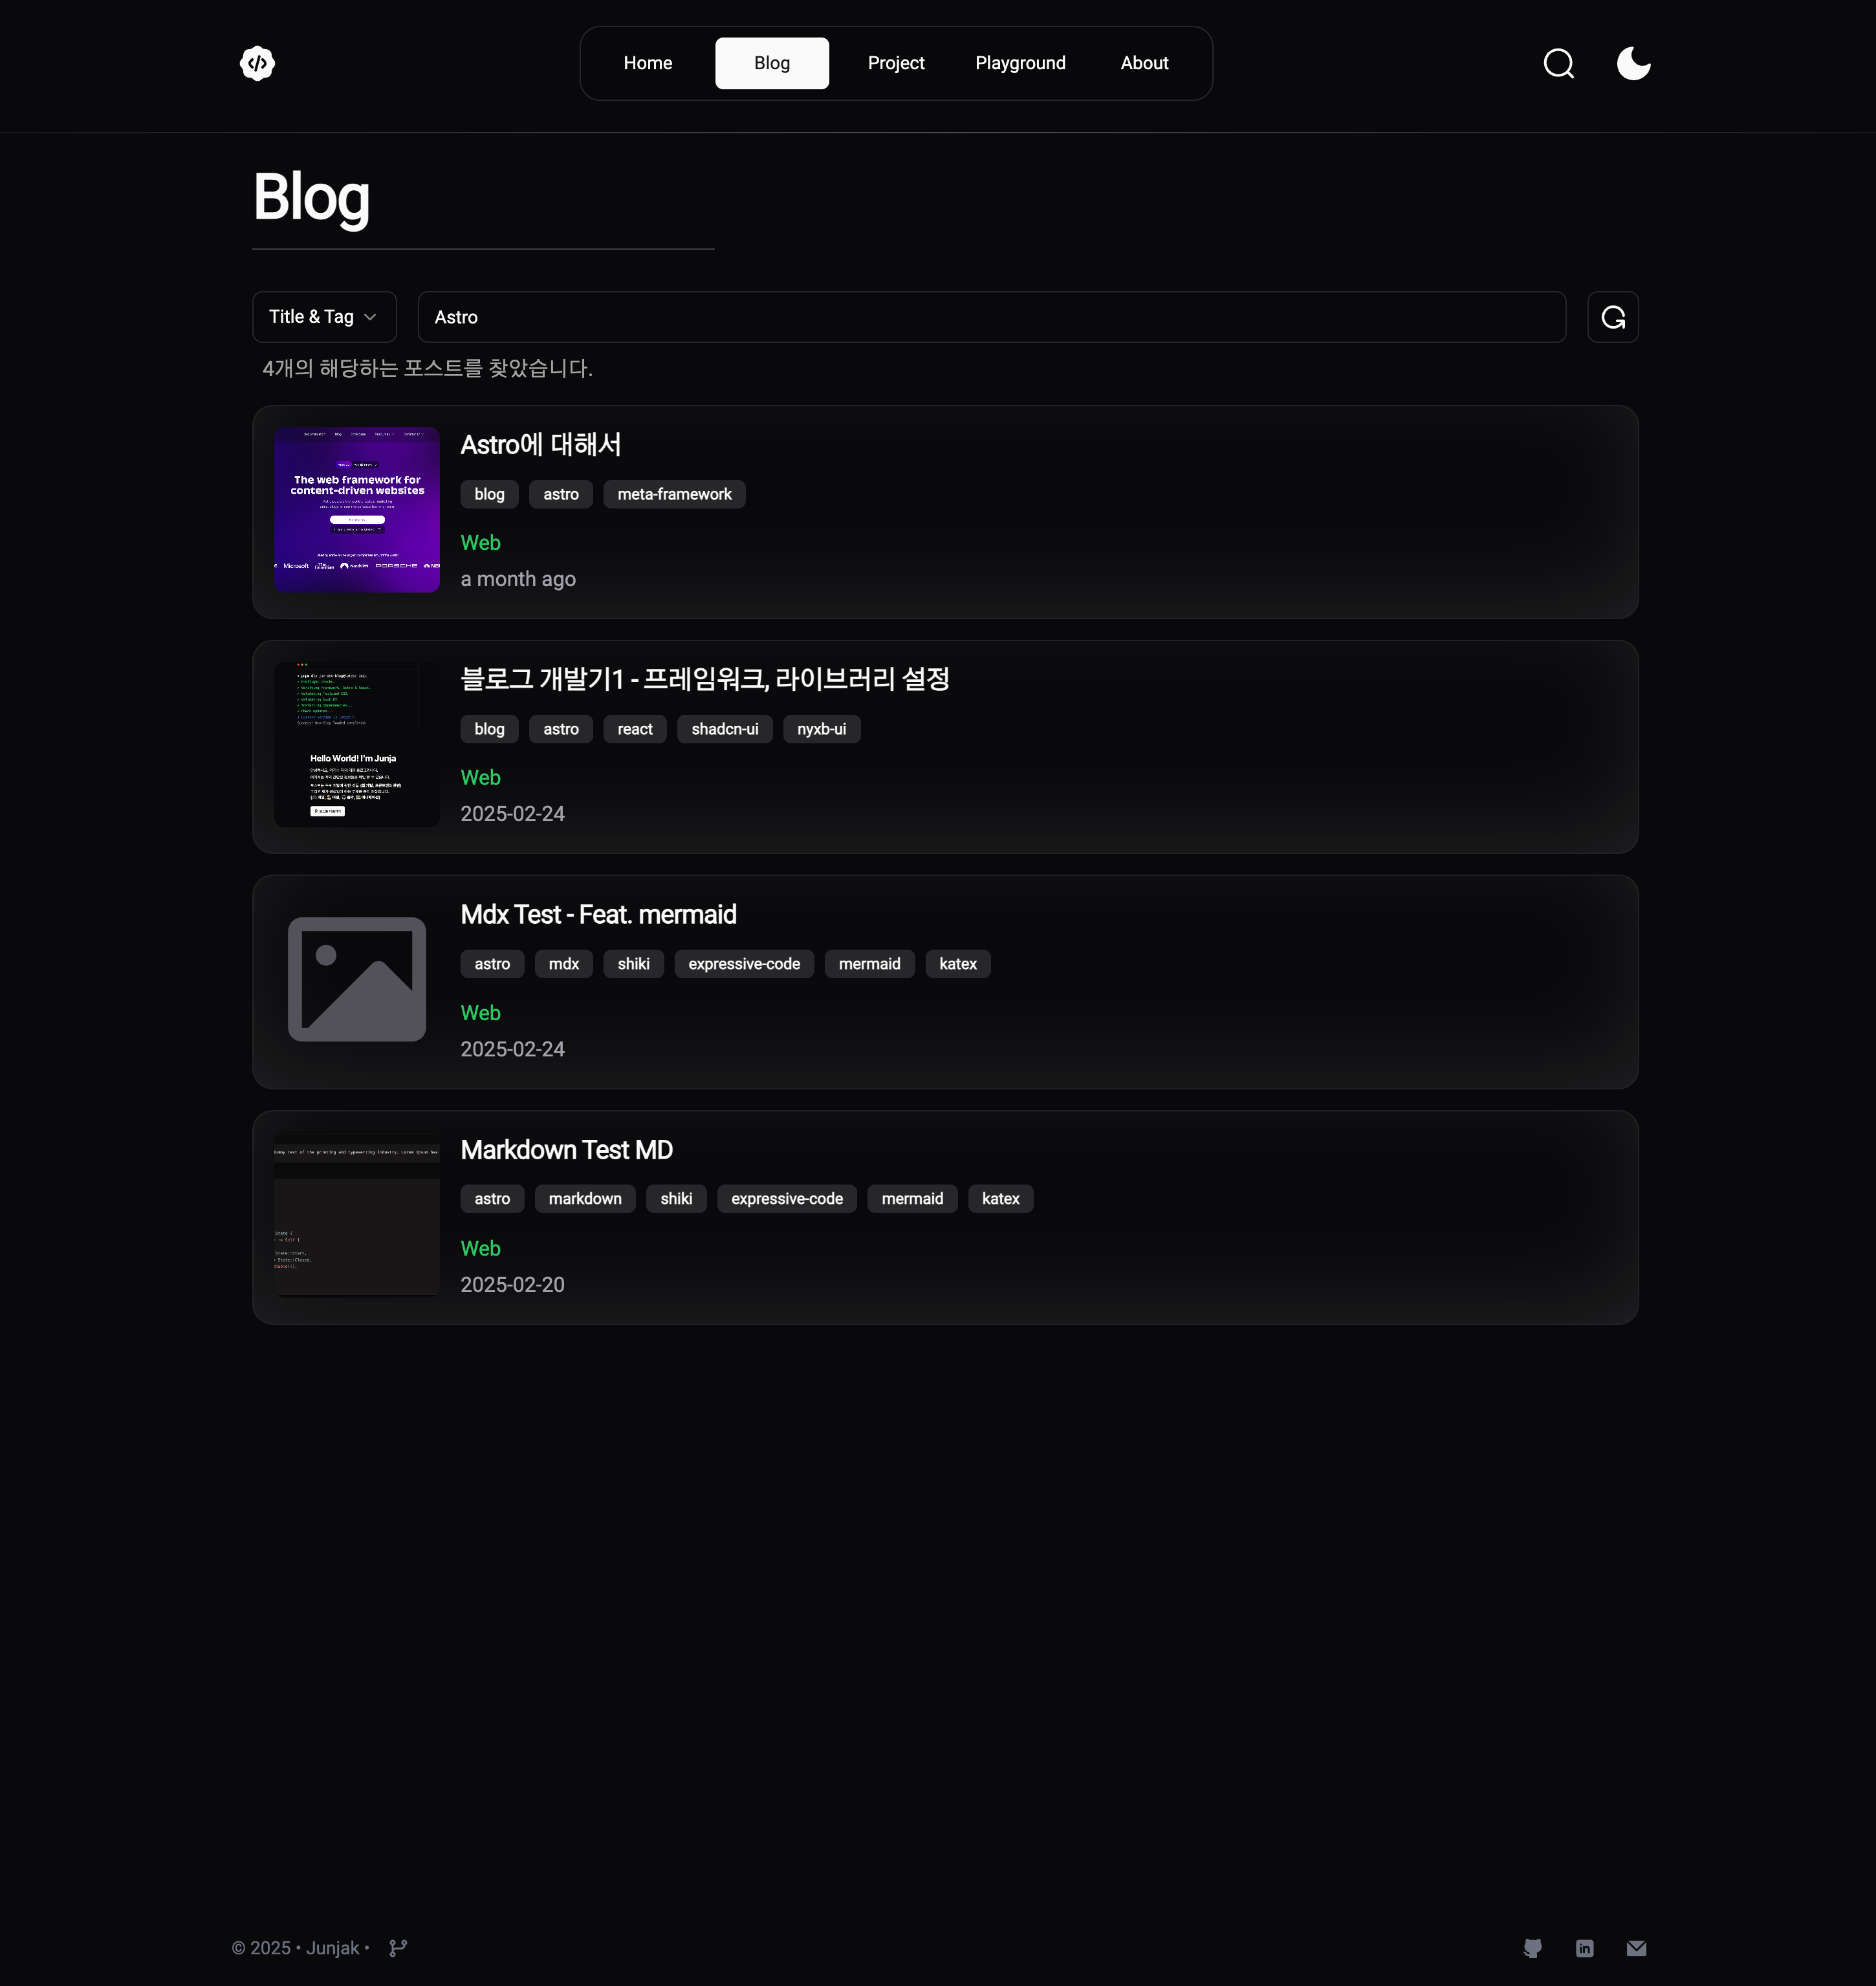
화면 구성
블로그 목록 화면 블로그 게시물 화면 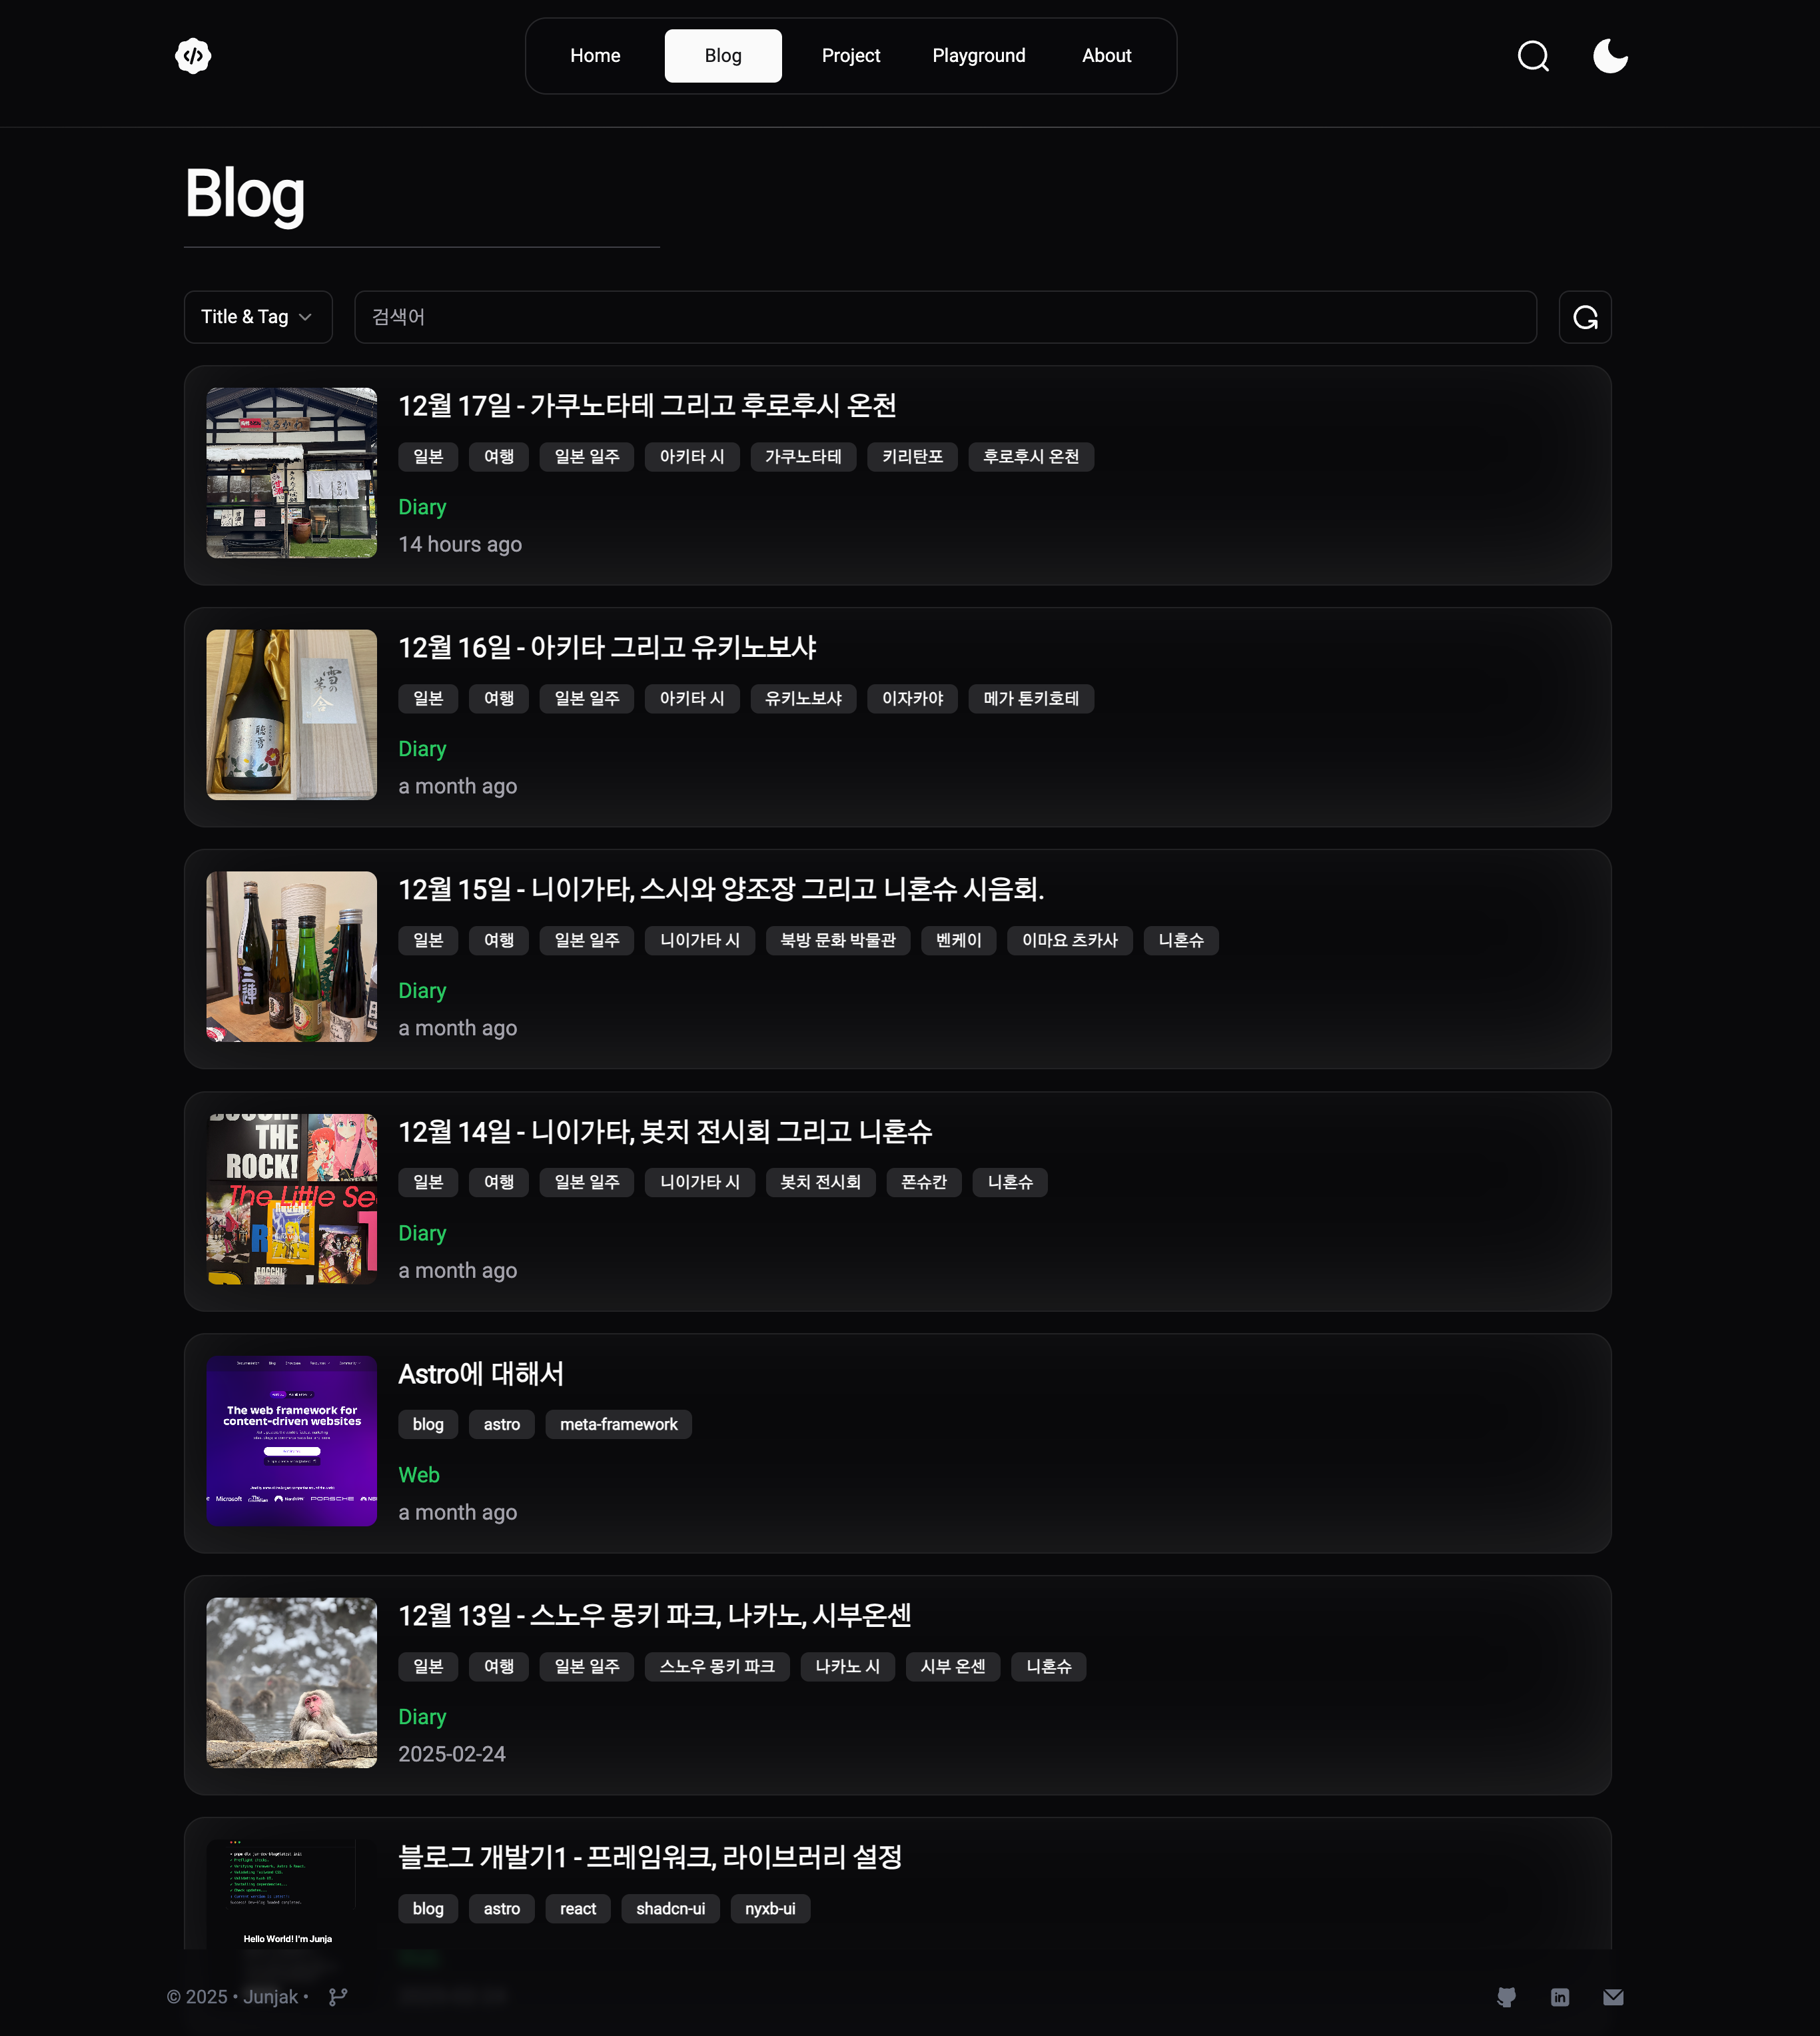
-
게시물 검색을 위한 fuzz search 구현
- fuse.js를 활용하여 사용자들이 검색을 더 수월하게 할 수 있도록 구성.
-
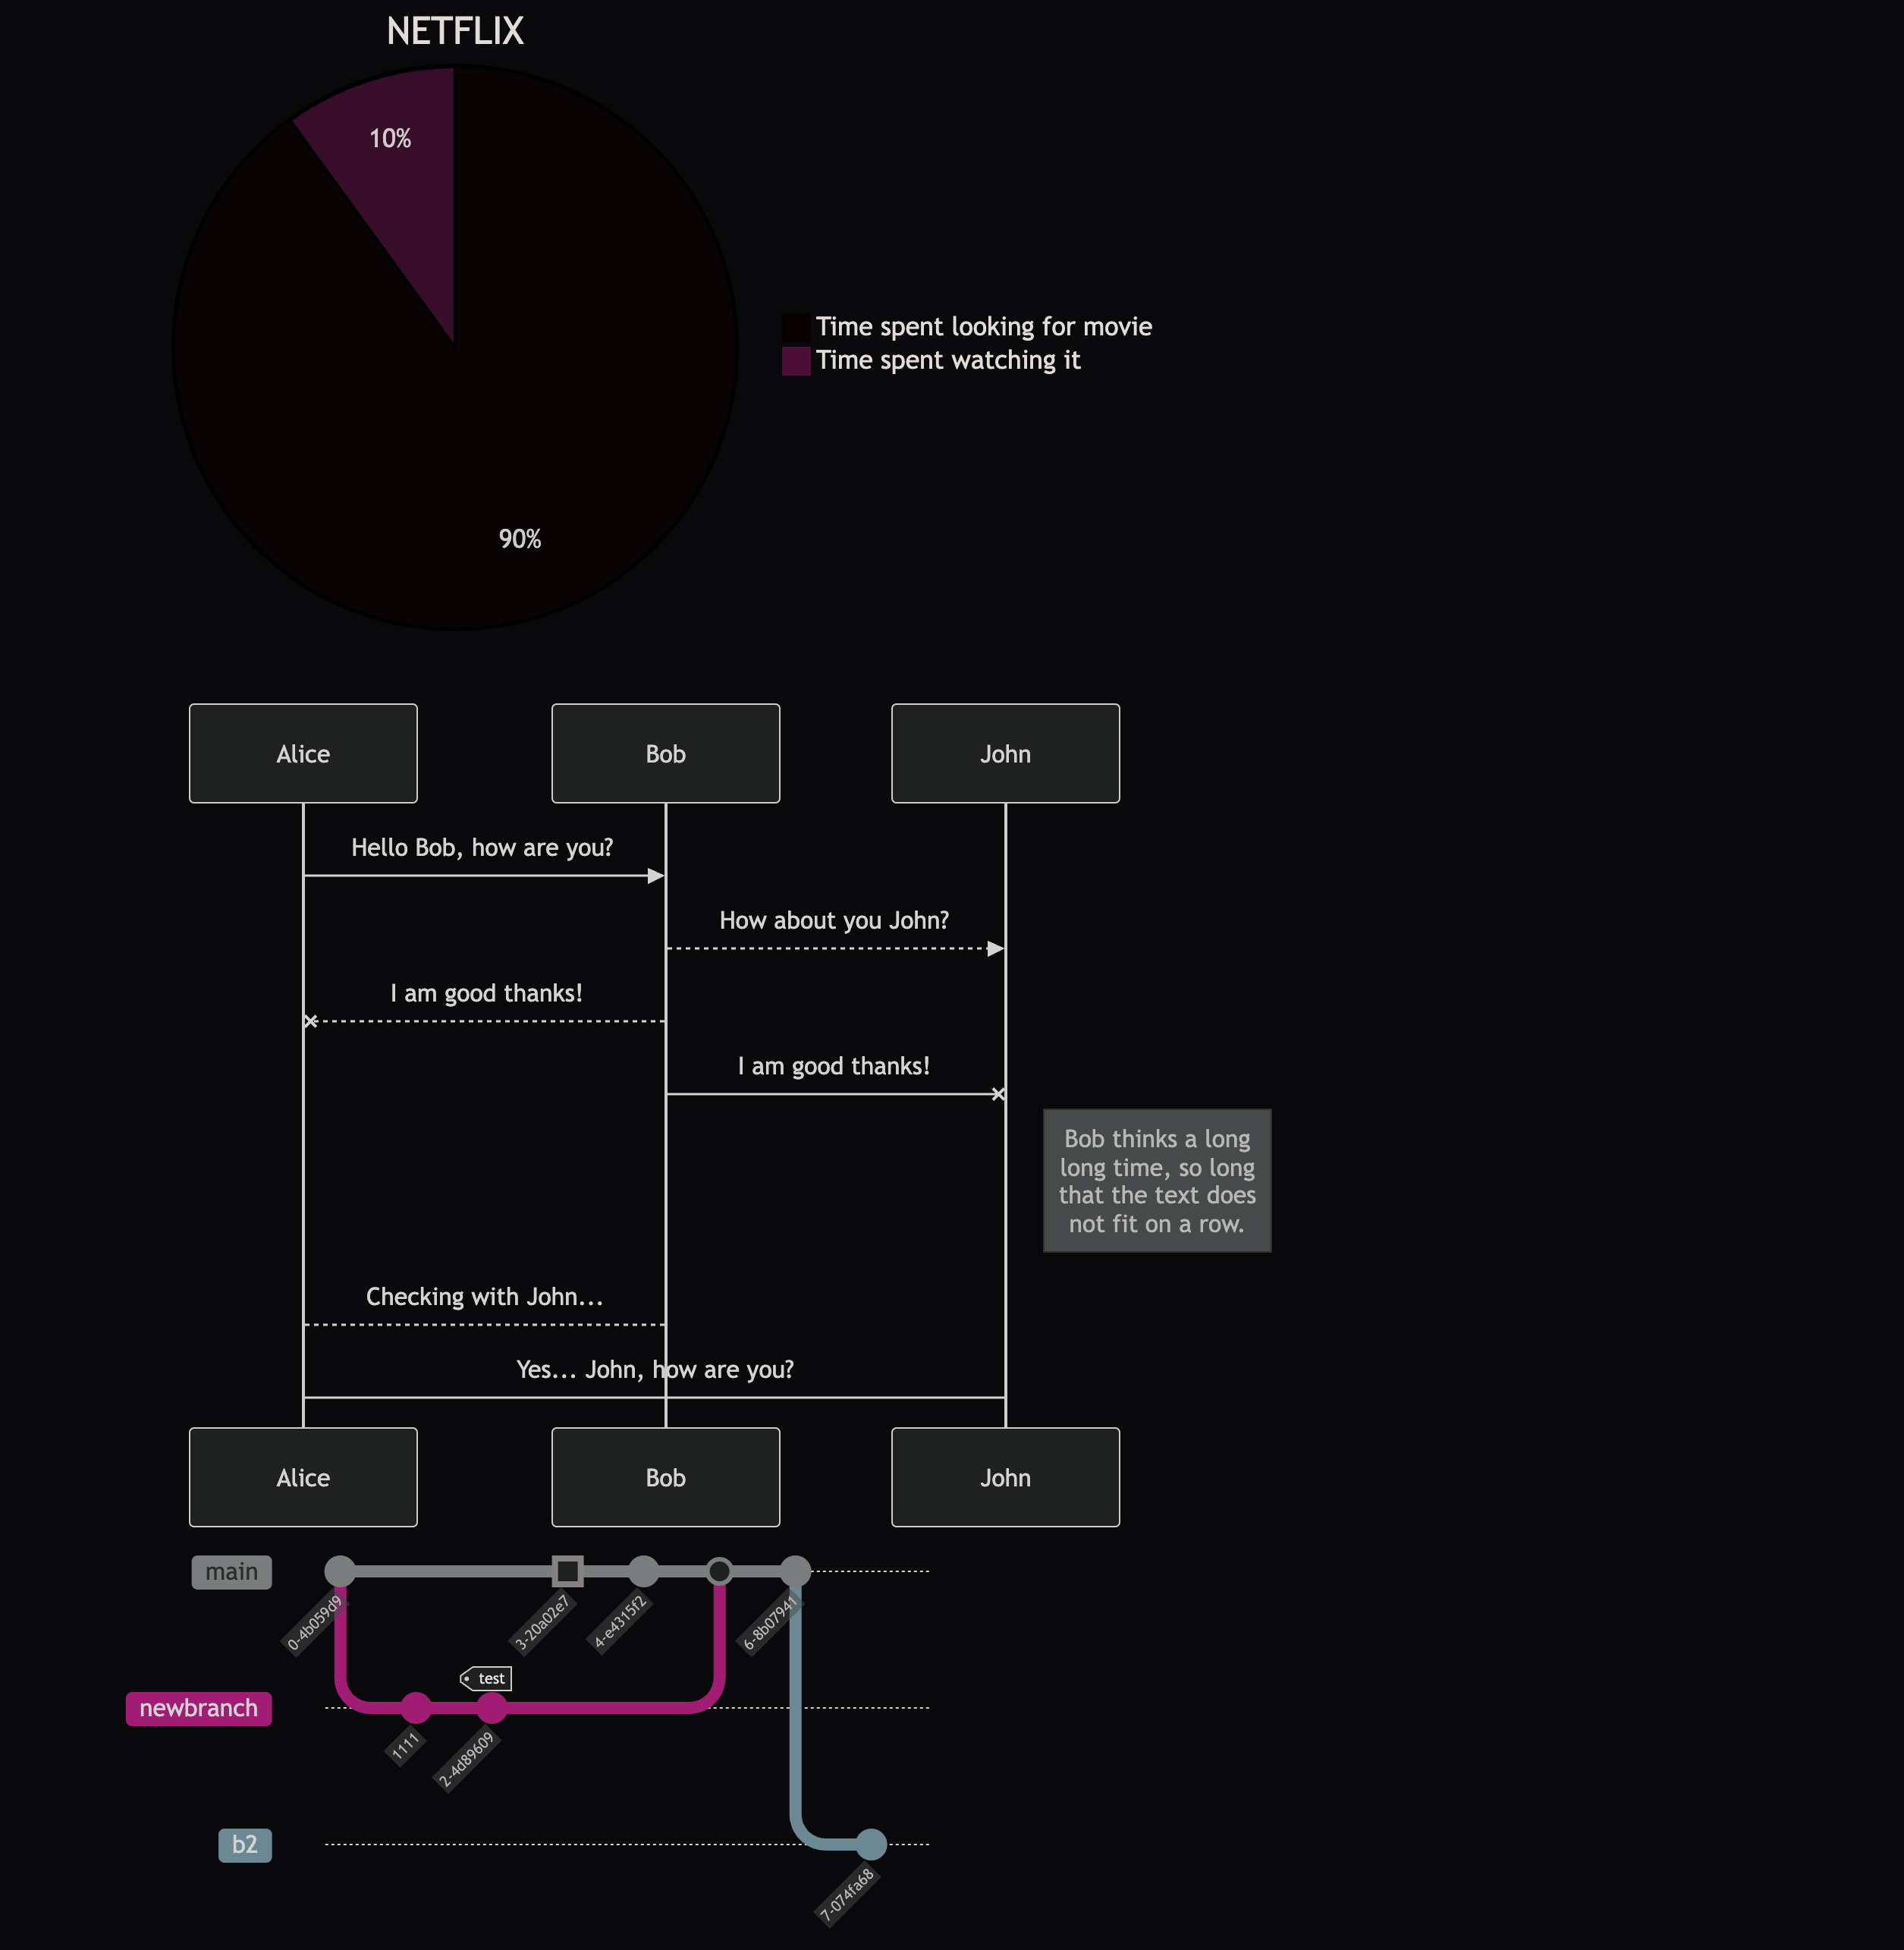
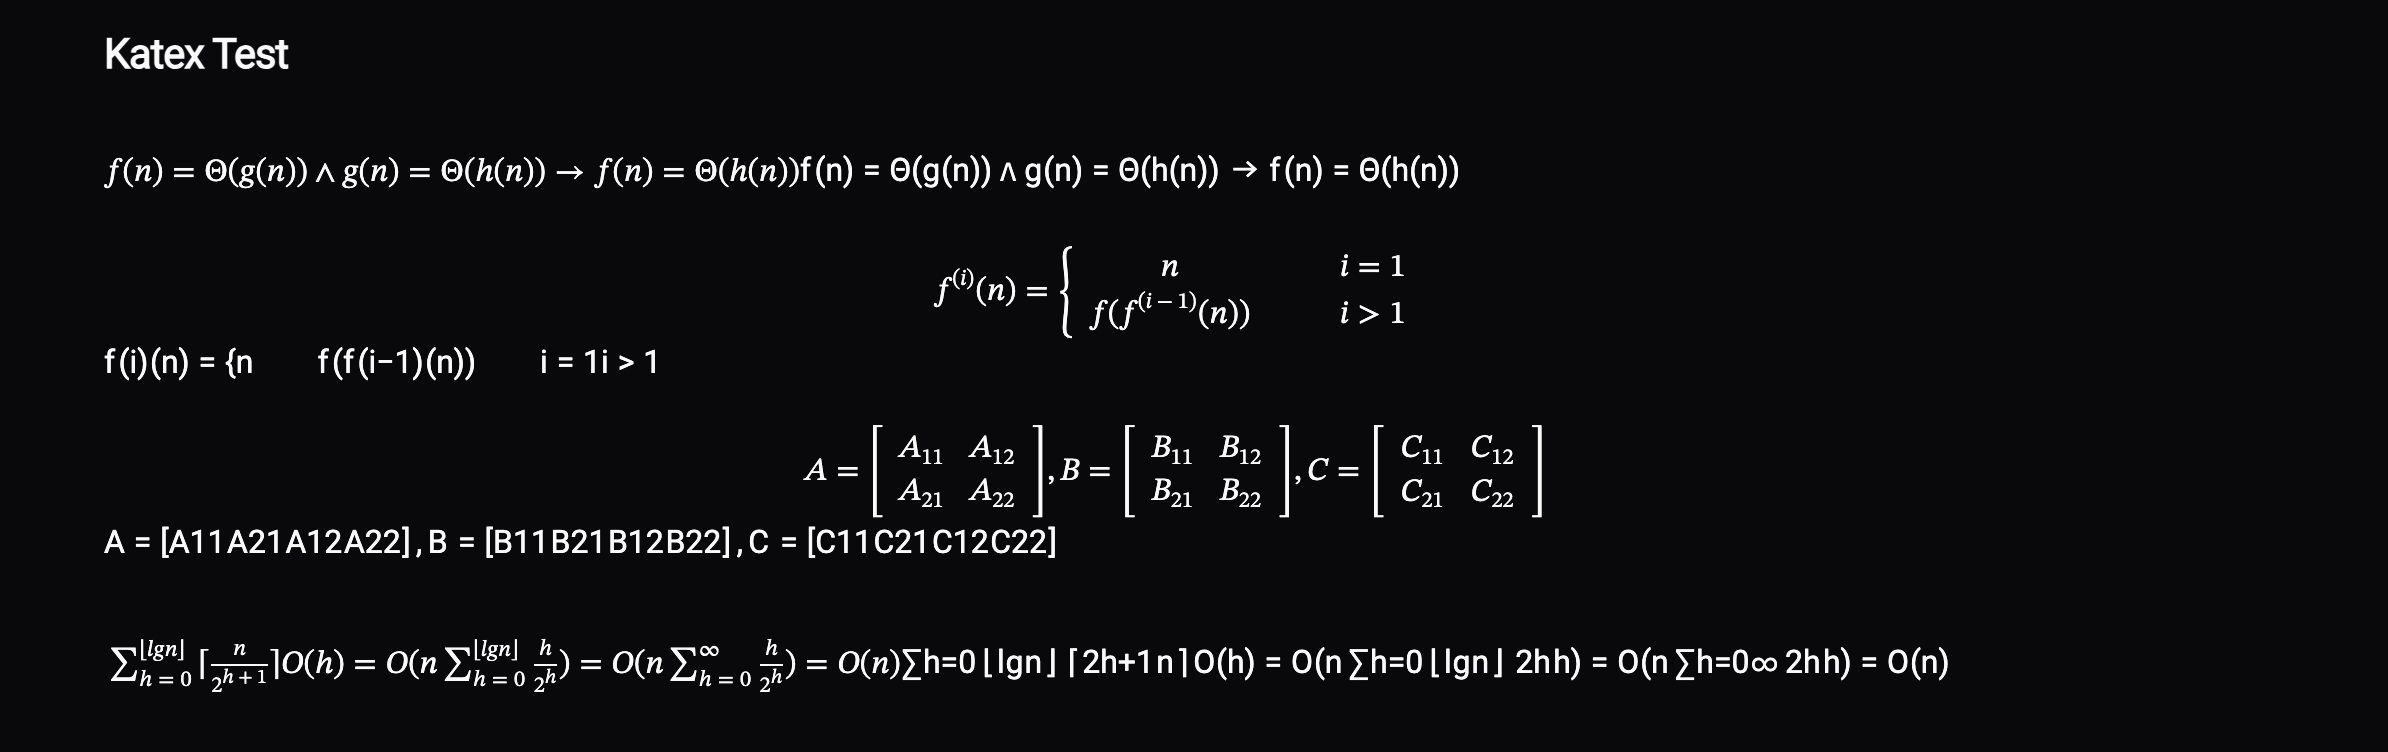
에셋 로더 및 코드 뷰를 위한 MDX 파일 처리
- Expressive code, Mermaid, Katex 추가
- 자세한 내용은 블로그 링크 참고. https://www.jun-devlog.win/blog/web/common/markdown-test-mdx
Expressive code Mermaid Katex 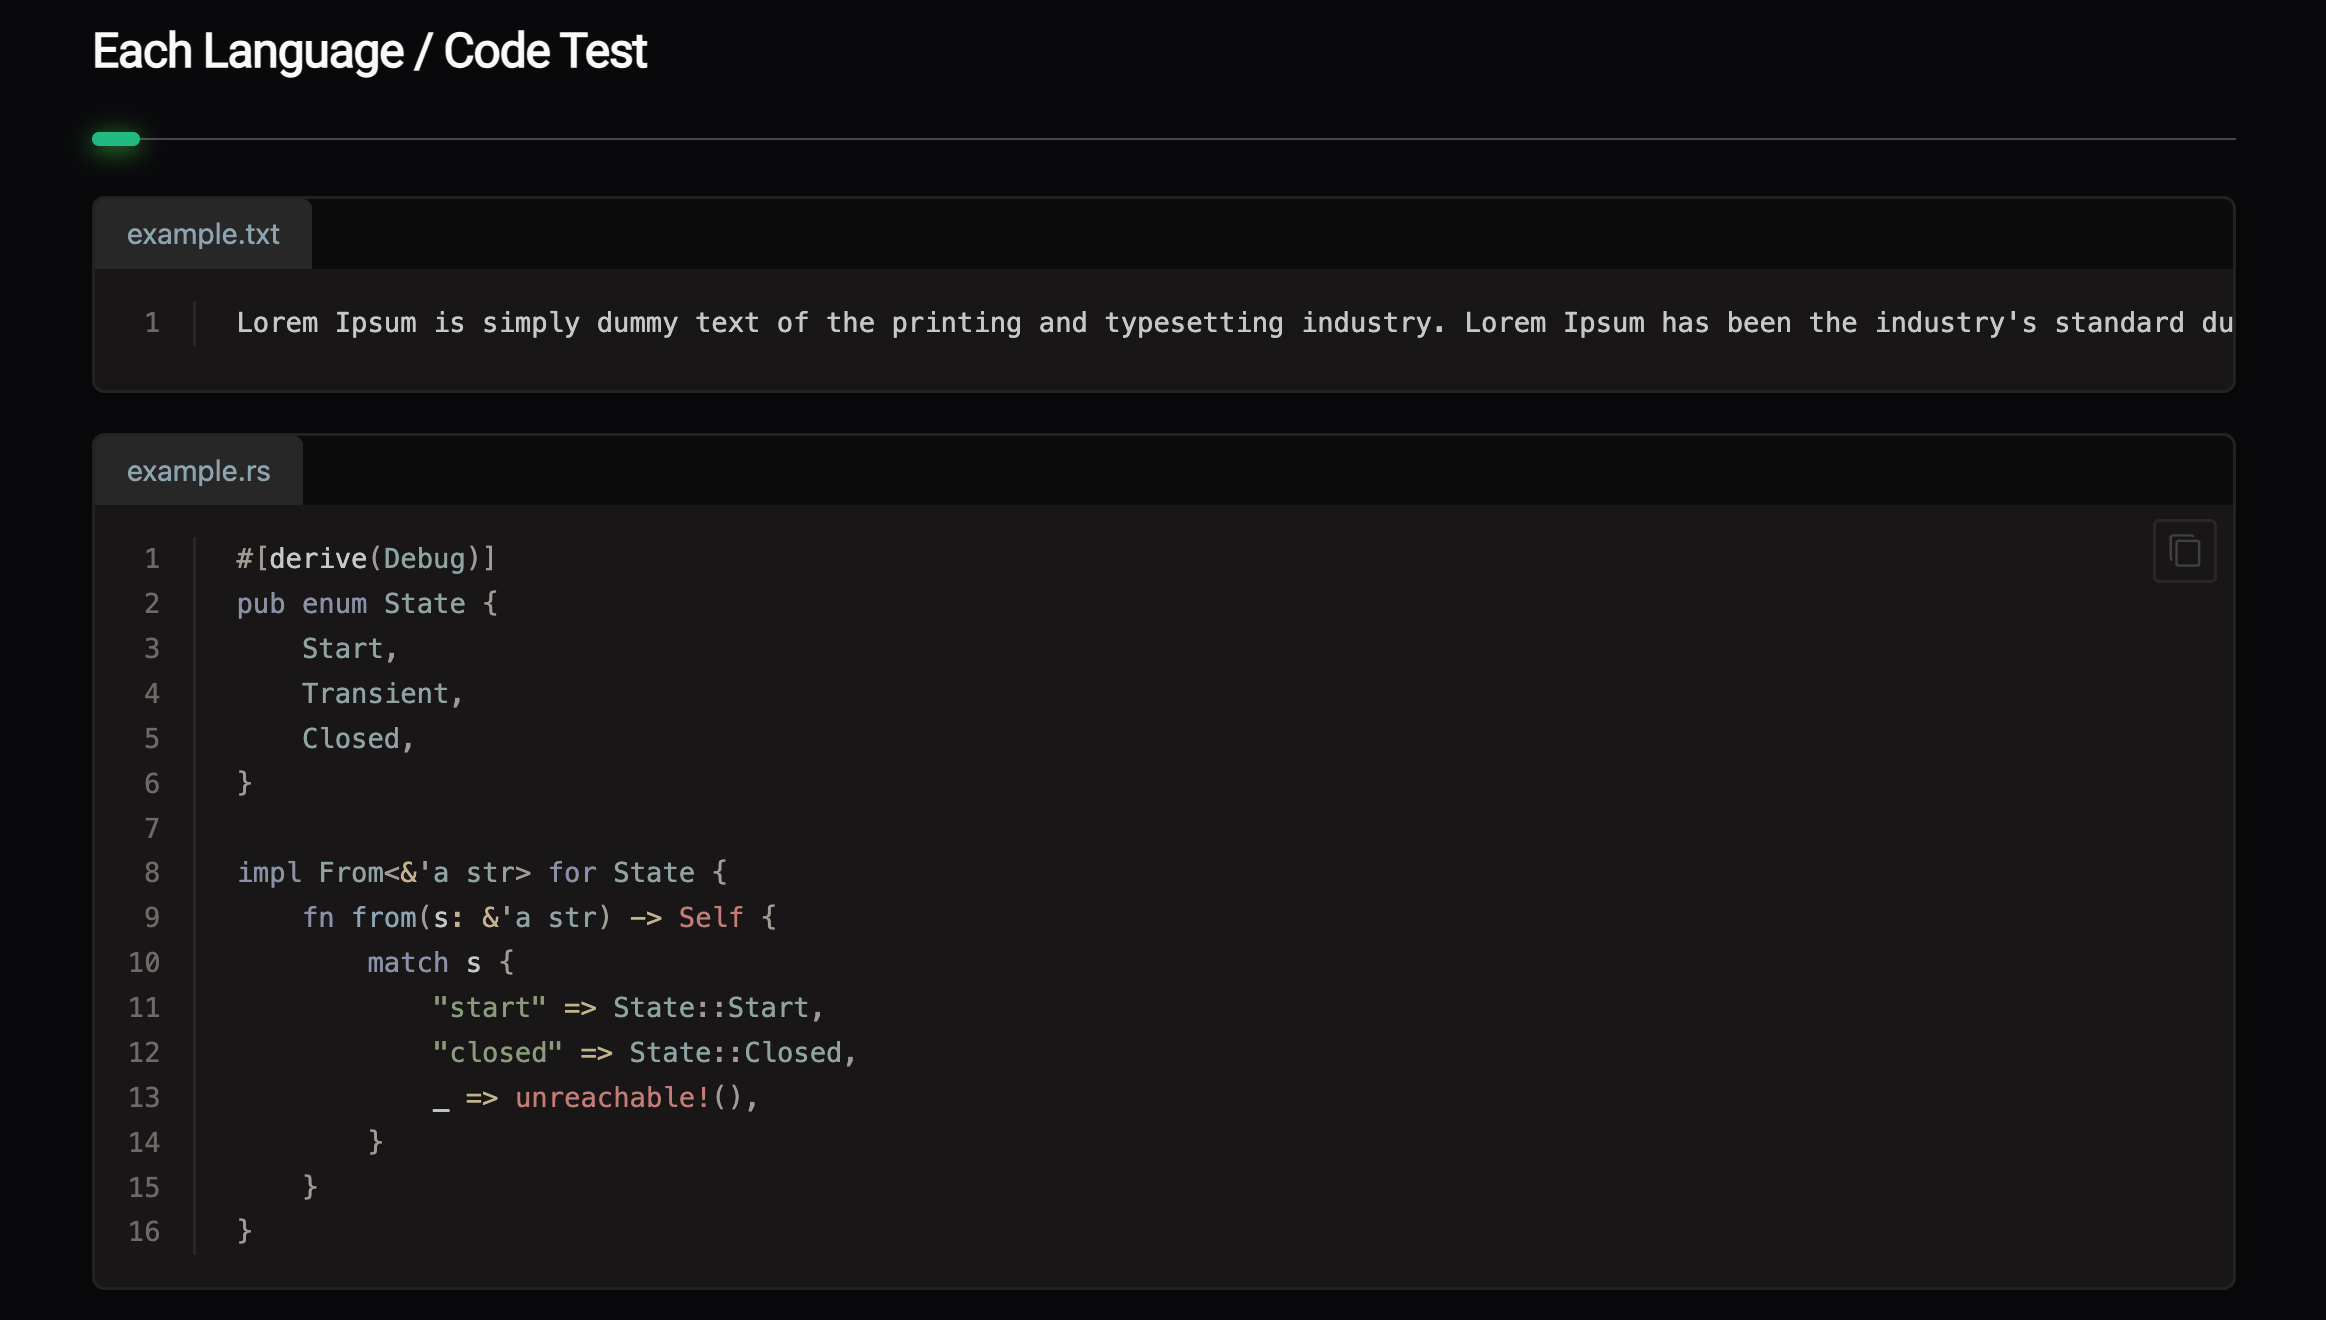
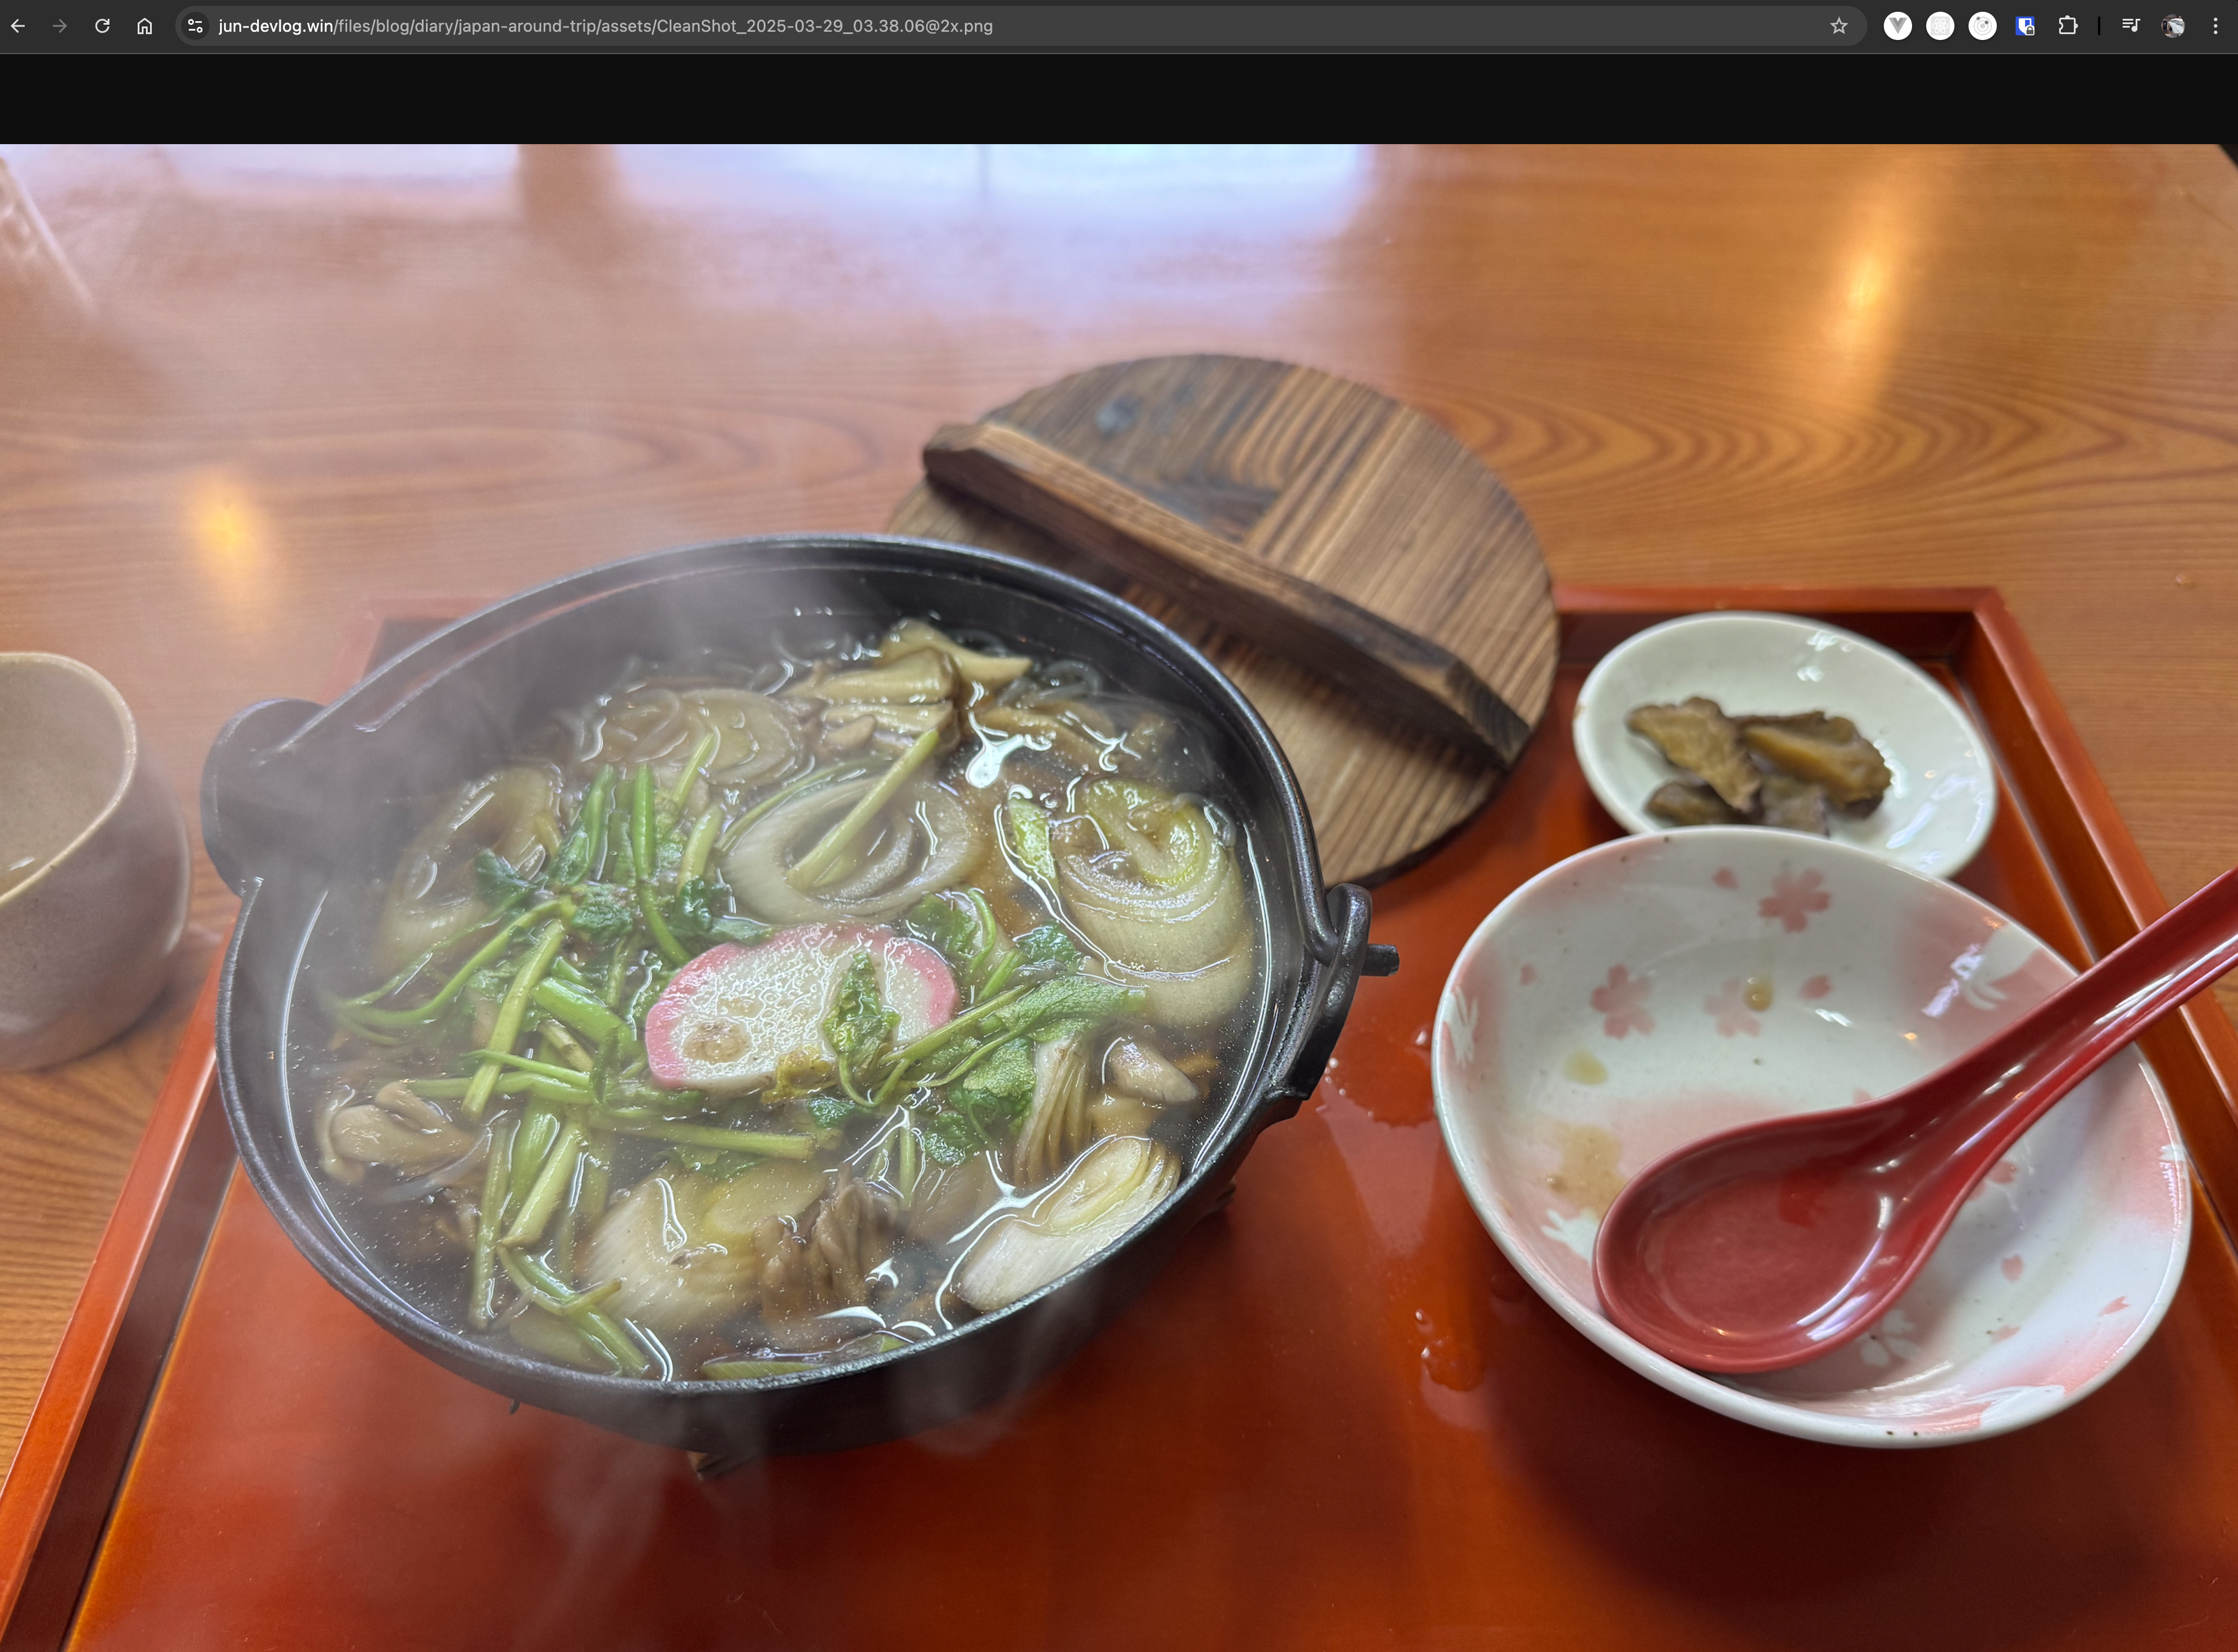
-
이미지 lazy 기능을 적용한 ImageLoader 개발
// 이미지 로더---import { getBasePathWithUrl } from '@/utils/getBasePathWithUrl.ts';import React from 'react';type Props = {src?: string;alt?: string;class?: string;width?: number;height?: number;};const { src, alt = 'blog-image', class: className, width, height } = Astro.props;---<imgsrc={getBasePathWithUrl(src)}alt={alt ?? 'blog-image'}loading="lazy"onerror={`this.src='/fallbackImg.svg'`}class={className}width={width}height={height}/>// mdx 파일---title: Astro에 대해서created: 2025-02-26updated: 2025-02-27tags: ['blog', 'astro', 'meta-framework']category: Webthumbnail: /files/blog/web/astro/assets/CleanShot_2025-02-26_20.22.28@2x.png---import ImageLoader from '@/components/Blog/ImageLoader.astro';import VideoLoader from '@/components/Blog/VideoLoader.astro';<ImageLoader src="/files/blog/web/astro/assets/[email protected]" alt="CleanShot_2025-02-26_20.22.28@2x" />## 시작으로앞서 작성한 블로그 소개 글에서 언급했듯, 개발 블로그를 만들기 위하여 Astro를 사용해본 경험, 사용법에 대하여 기술하겠습니다....
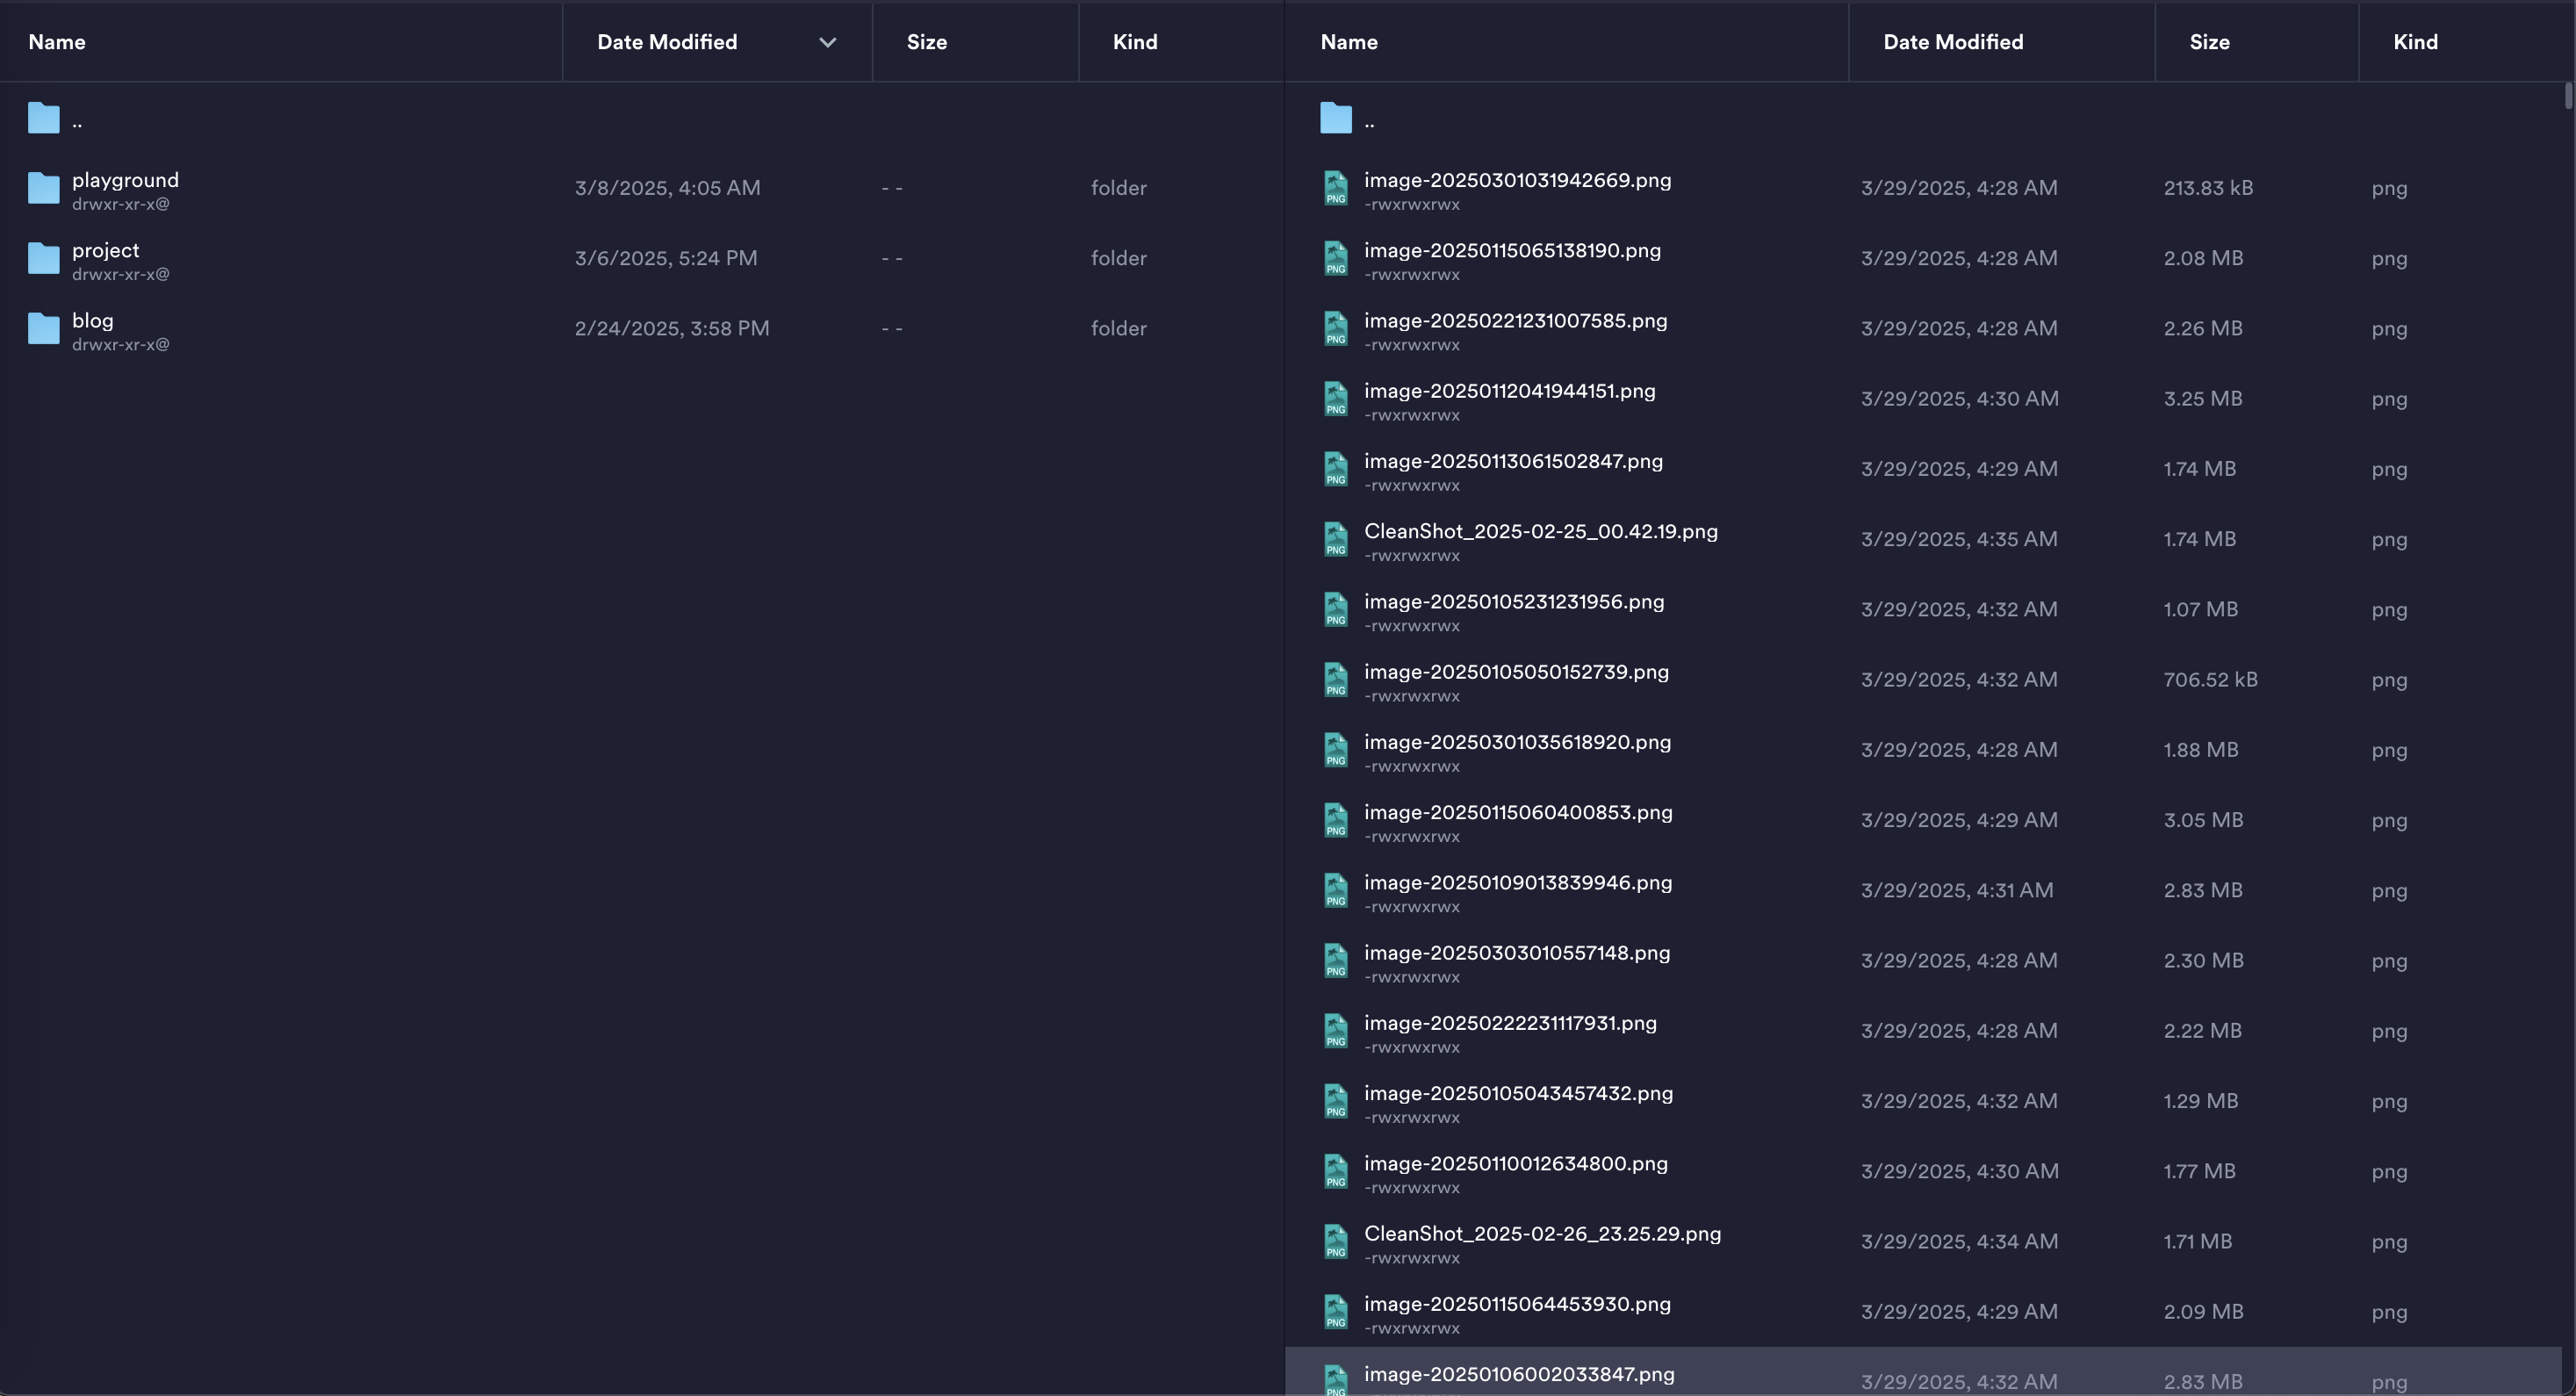
-
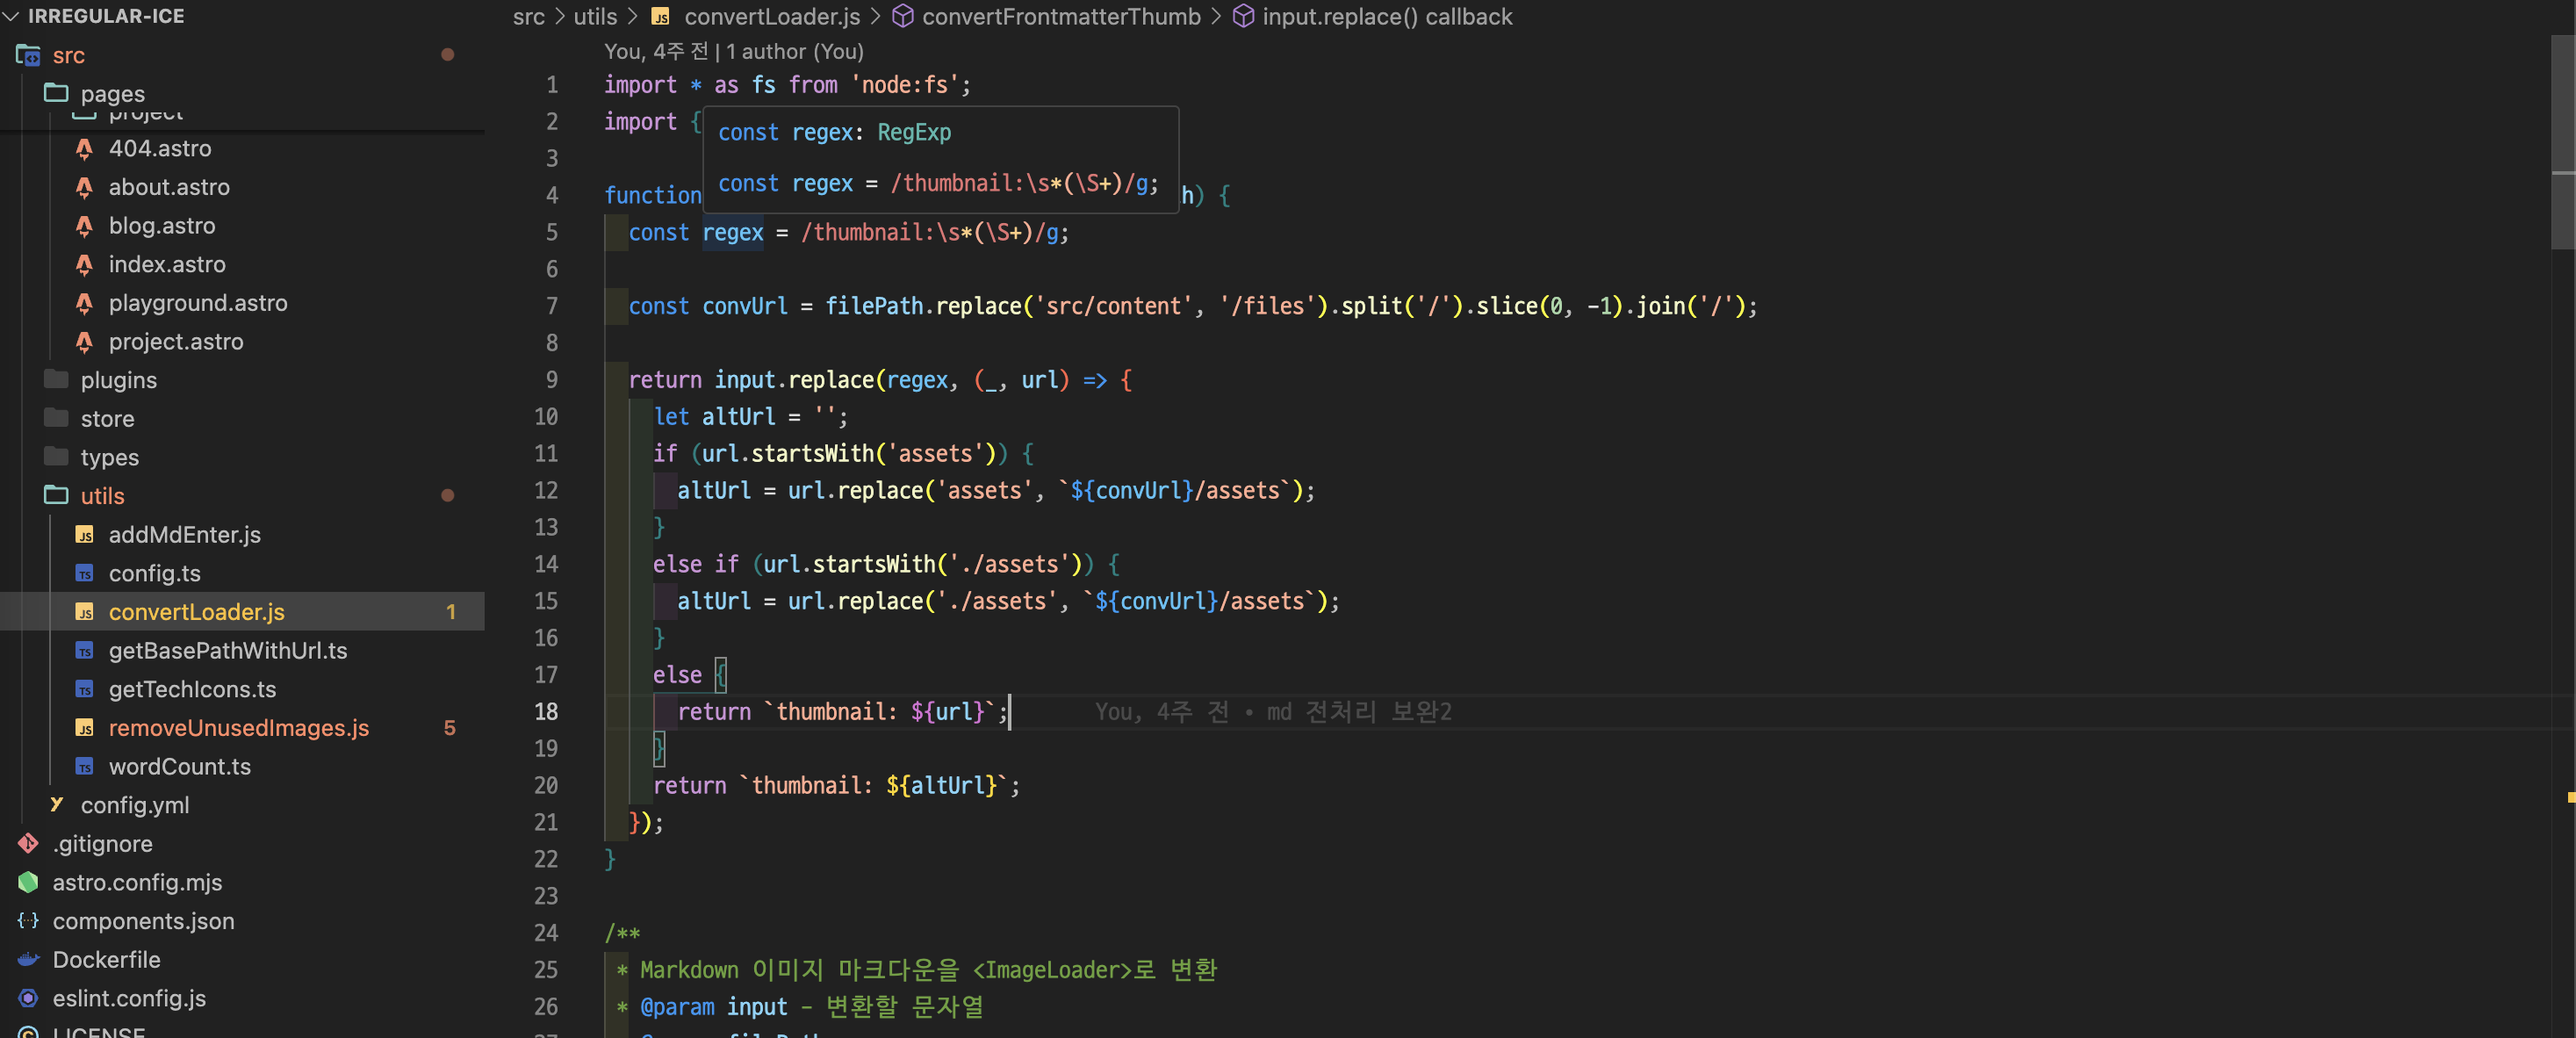
게시물 데이터 전처리 js 파일 추가
- 마크다운 에디터로 블로그 게시물 먼저 작성 후 콘텐츠들을 블로그 사이트에 추가하기 때문에 전처리 필요.
- 이미지 경로 및 기타 컴포넌트를 추가하는 전처리 플러그인을 개발하여 블로그 콘텐츠 추가 전 실행.
- addMdEnter.js
- convertLoader.js
- removeUnusedImages.js
Docker, Nginx를 활용한 웹서버 구축 및 자동 배포 환경 구성
문제 인식 및 해결방법 구상
- 초기 개발 단계에서는 netlify를 통하여 배포하여 사이트를 제작
- 문제발생: 블로그의 사진 이미지가 늘어남에 따라 깃허브에서 용량 초과로 경고가 나오기 시작
- 해결방안: 아마존 S3 또는 개인 파일 서버를 구축하여 블로그 에셋들을 해당 서버에 보관
- 해결책으로 개인 리눅스 서버를 개안 파일 서버를 구축하기로 하였는데, 구성을 변경하는 김에 웹 서버도 리눅스 서버에 세팅하기로 결정
웹 서버 구성 및 자동 배포 환경 구성
-
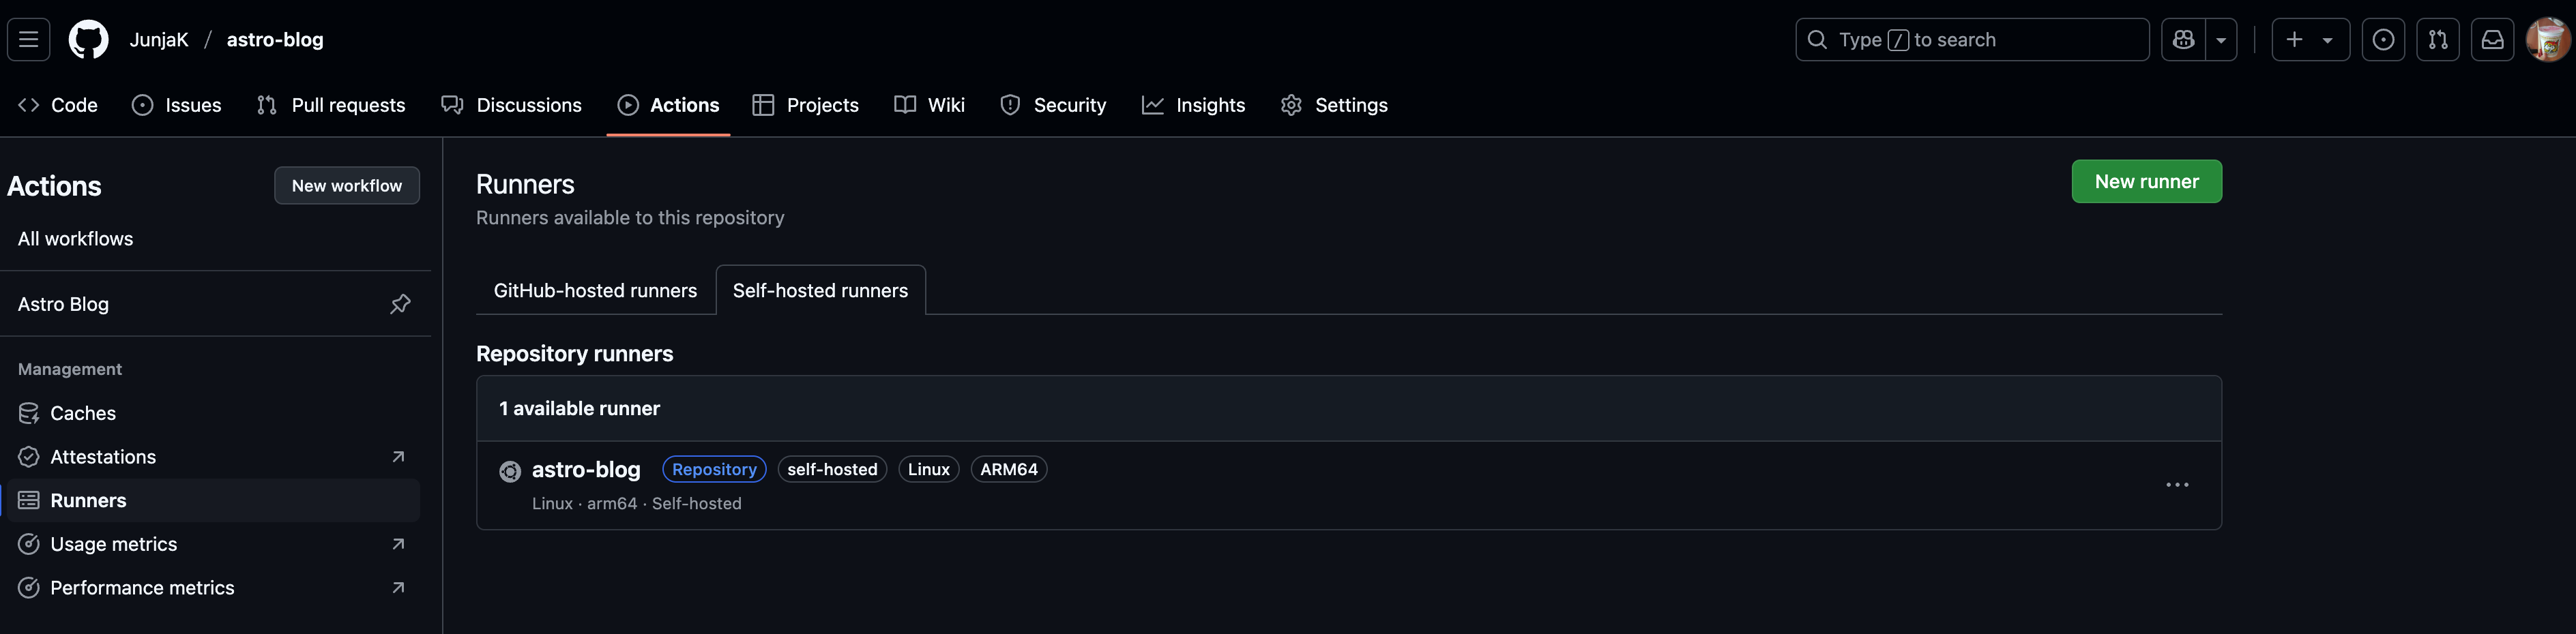
Github Action runner 설치
- 깃허브의 가이드를 따라 다음과 같이 self-hosted runner를 리눅스 서버에 설치
-
nginx, docker file, workflow 설정
- workflow를 통하여 원격 브랜치로의 push가 일어날 때 runner가 빌드/배포할 수 있도록 설정
- 배포 시점에서 docker file을 통하여 도커 이미지 빌드 후 지정된 설정으로 Nginx 컨테이너 생성 후 실행
- Cloud flare로 도메인 설정하여 네임서버로 접속가능하게 구성
workflow.yaml name: Astro Blogon:push:branches:- master # 배포를 트리거하는 브랜치jobs:build:runs-on: self-hostedsteps:- name: Checkoutuses: actions/checkout@v4- uses: pnpm/action-setup@v4name: Install pnpmwith:version: 10run_install: false- name: Install Node.jsuses: actions/setup-node@v4with:node-version: 22cache: 'pnpm'- name: Install dependenciesrun: pnpm install- name: Buildrun: pnpm builddeploy:runs-on: self-hostedneeds: buildsteps:- name: Build Docker Imagerun: DOCKER_BUILDKIT=1 docker build -t astro-blog .- name: docker stop & remove prerun: docker stop astro-blog && docker rm astro-blog- name: docker runrun: docker run -d -v astro-blog-volume:/home/files --name astro-blog -p 4321:80 astro-blogDockerfile FROM ubuntu/nginx:1.18-22.04_betaENV TZ="Asia/Seoul"COPY ./nginx.conf /etc/nginx/nginx.confCOPY ./dist /var/www/htmlnginx.conf worker_processes 1;events {worker_connections 1024;}http {server {listen 80;server_name _;root /var/www/html;index index.html index.htm;include /etc/nginx/mime.types;gzip on;gzip_min_length 1000;gzip_proxied expired no-cache no-store private auth;gzip_types text/plain text/css application/json application/javascript application/x-javascript text/xml application/xml application/xml+rss text/javascript;error_page 404 /404.html;location = /404.html {root /var/www/html;internal;}location / { #try_files $uri $uri/index.html =404;}location /files { # 파일 서버alias /home/files;}}} -
docker volume에 이미지를 저장하여 nginx로 설정한 파일 서버가 이미지를 불러올 수 있도록 설정